


Build Instructions, Short
These are the abbreviated instructions for people with prior soldering experience. Here are the full build instructions.
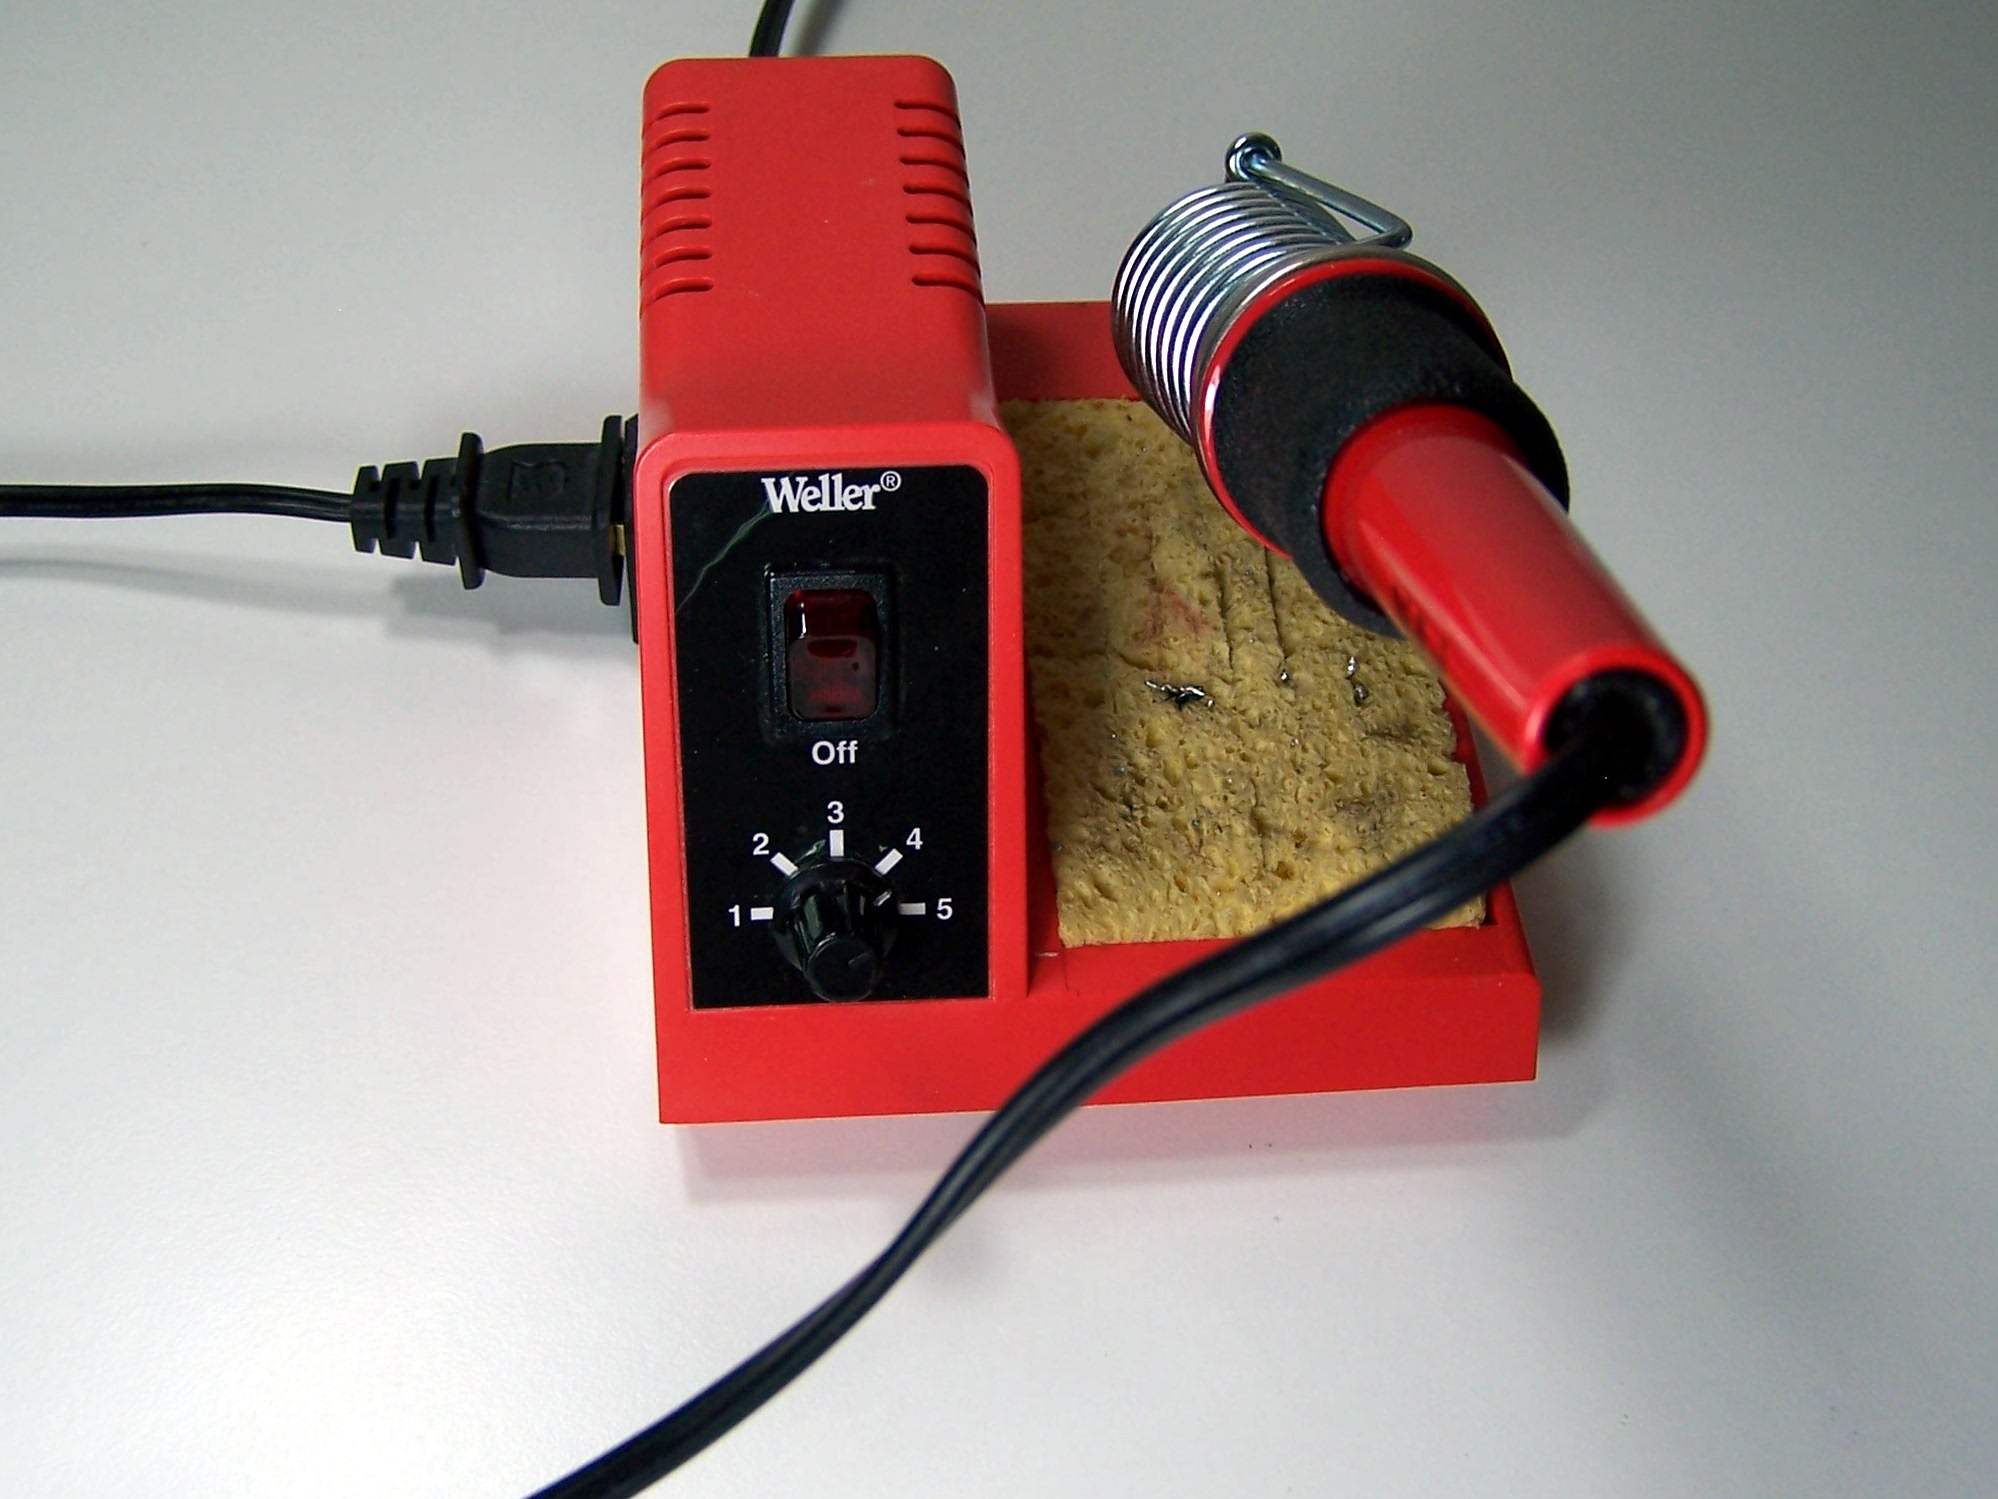
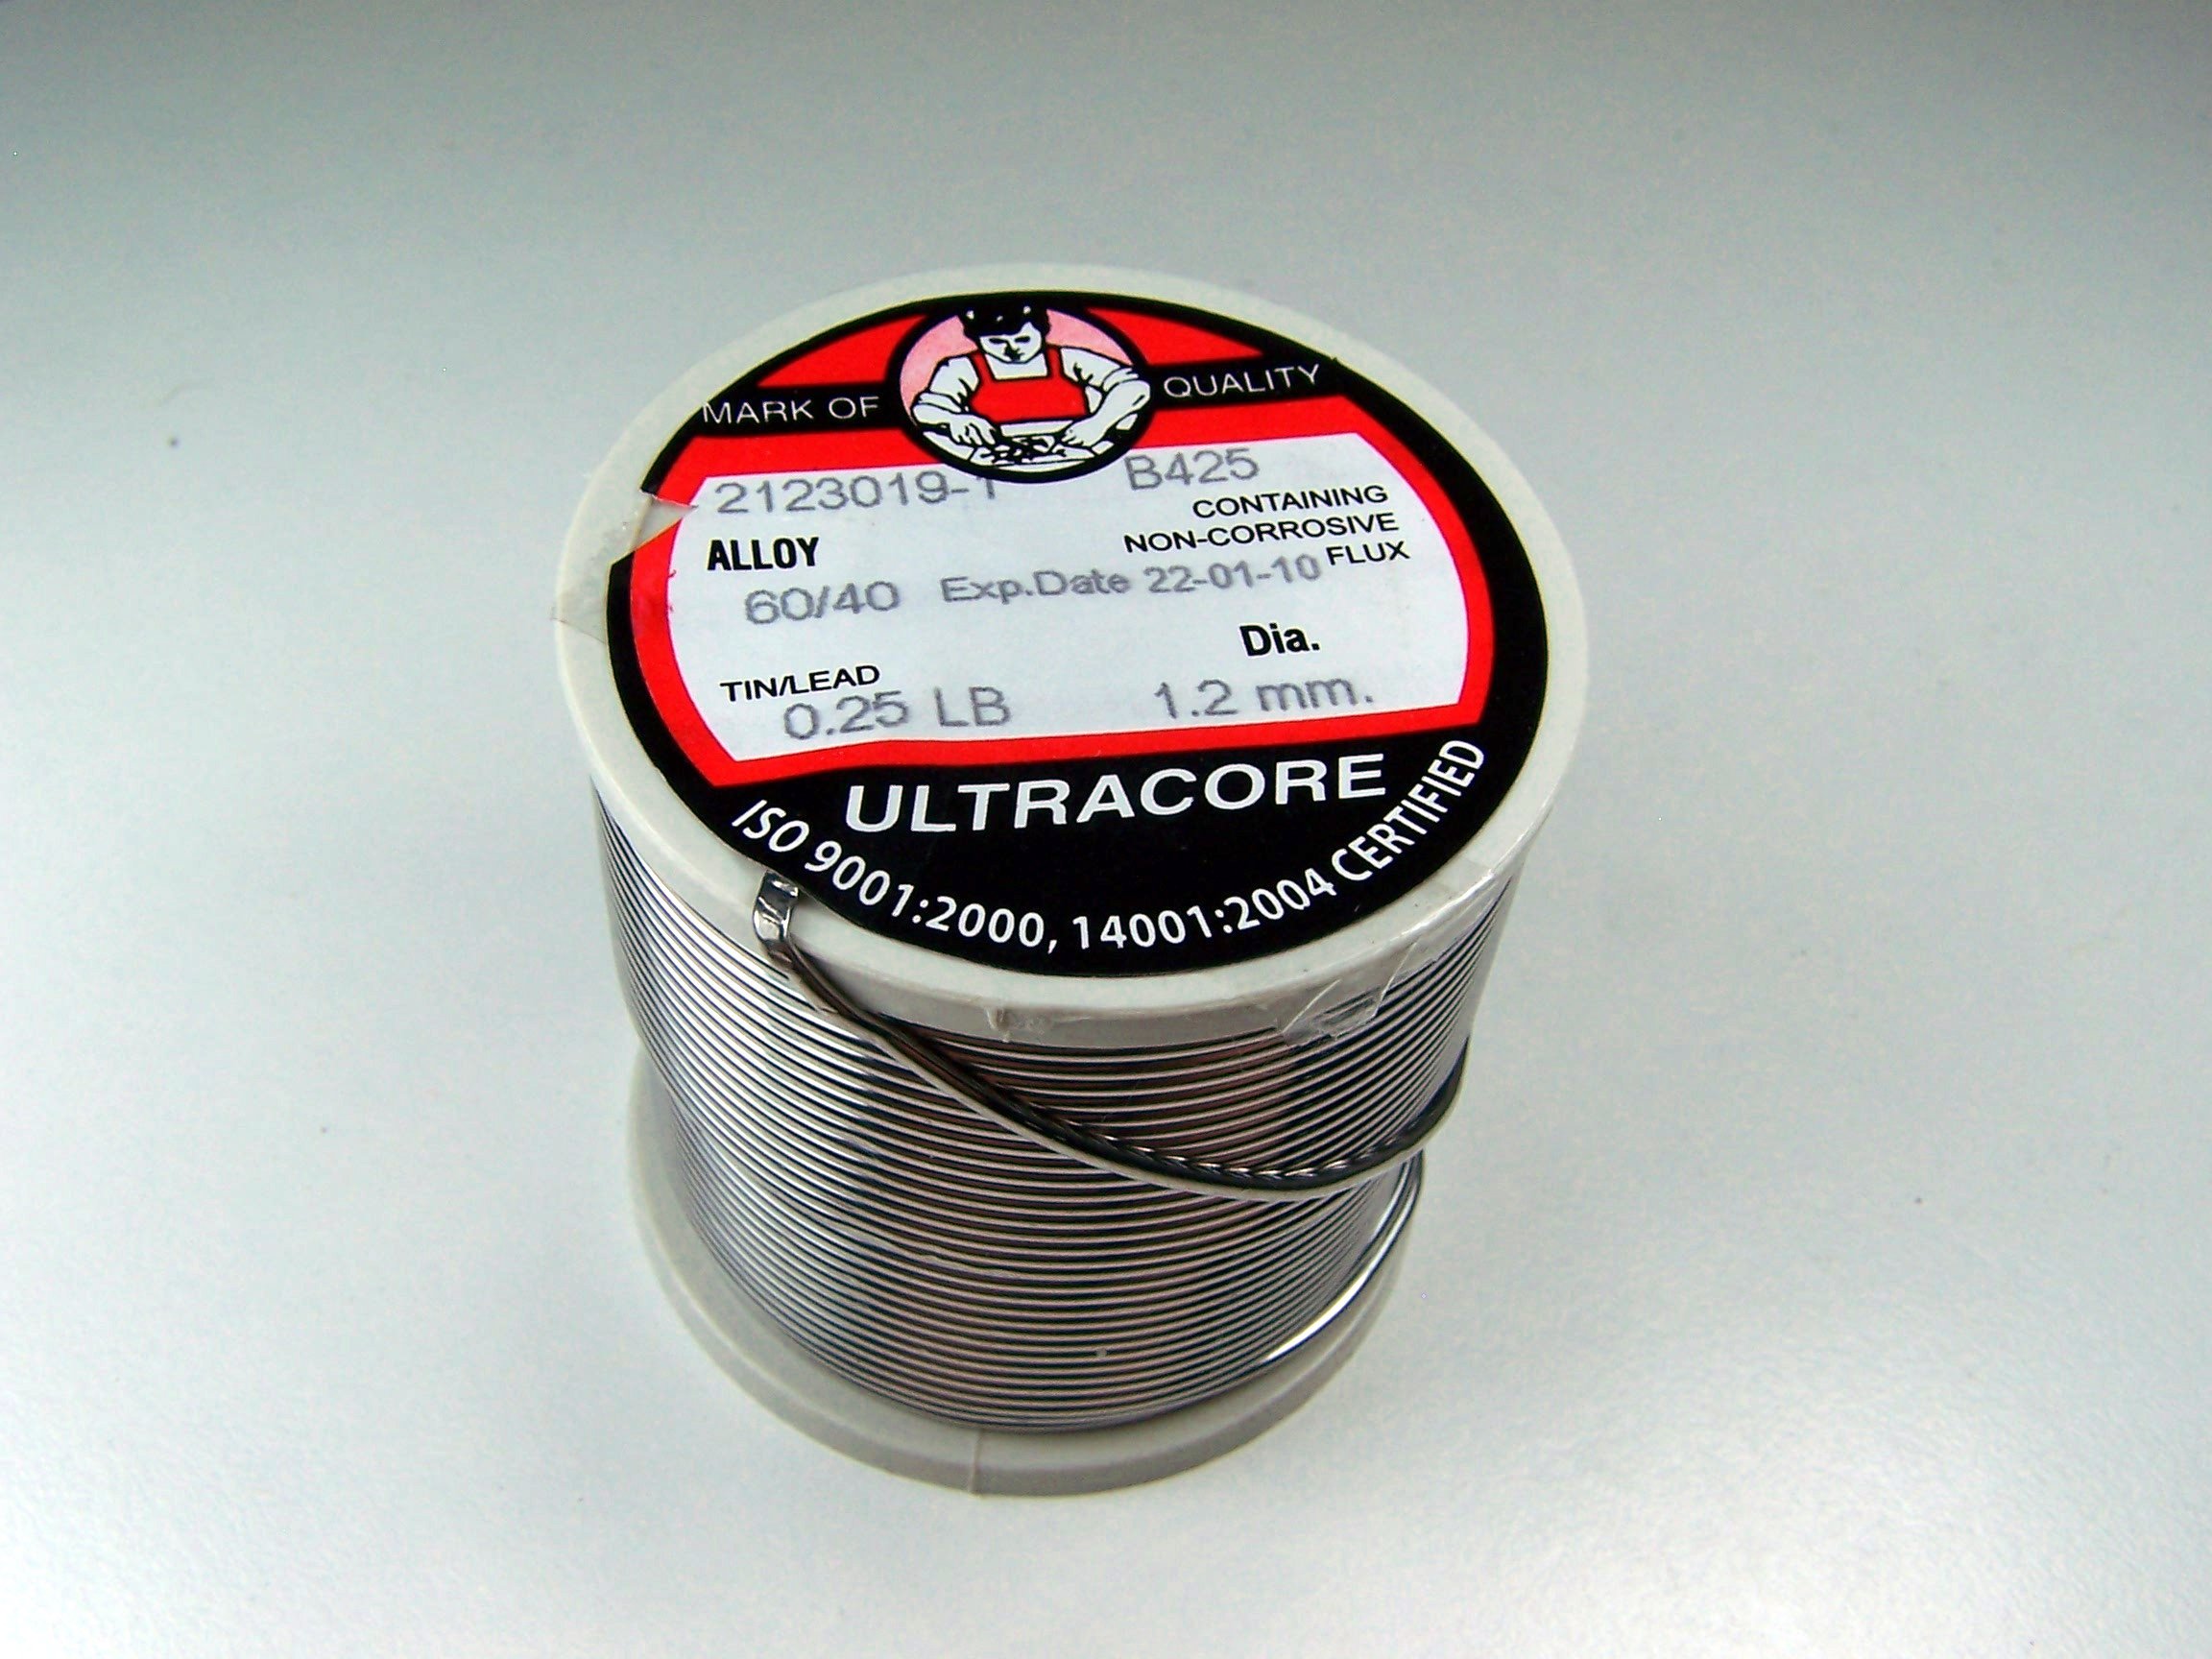
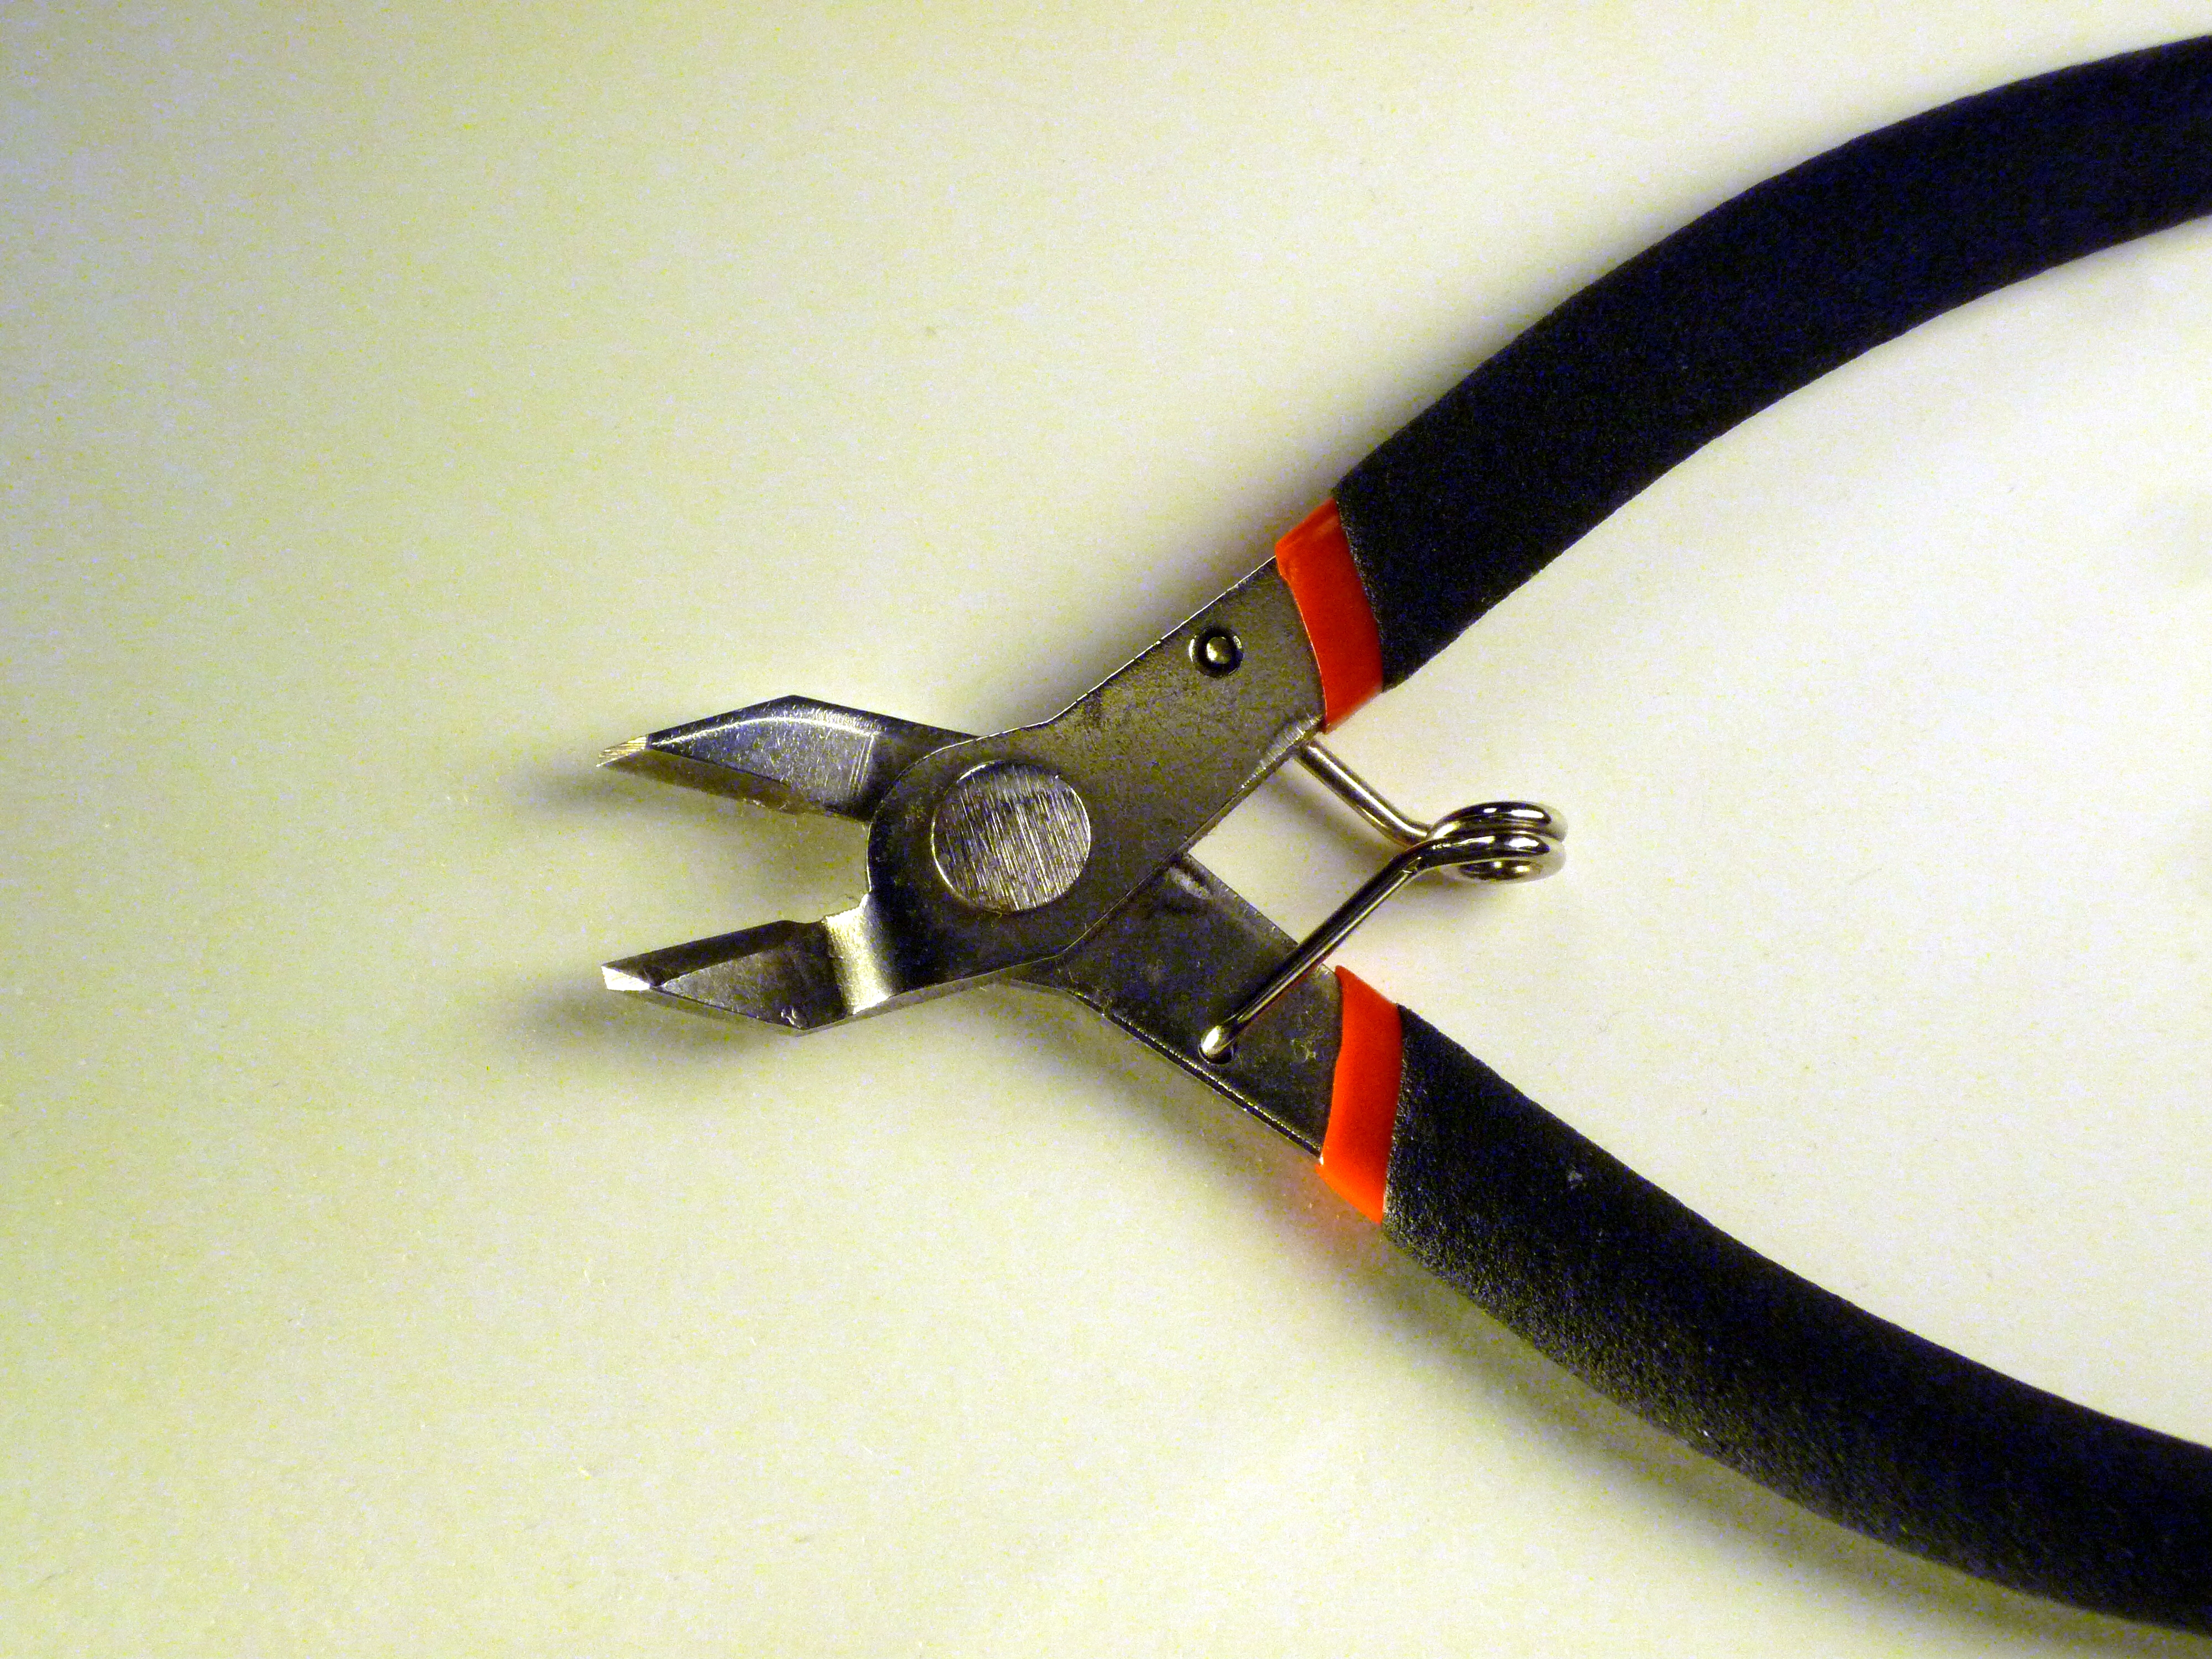
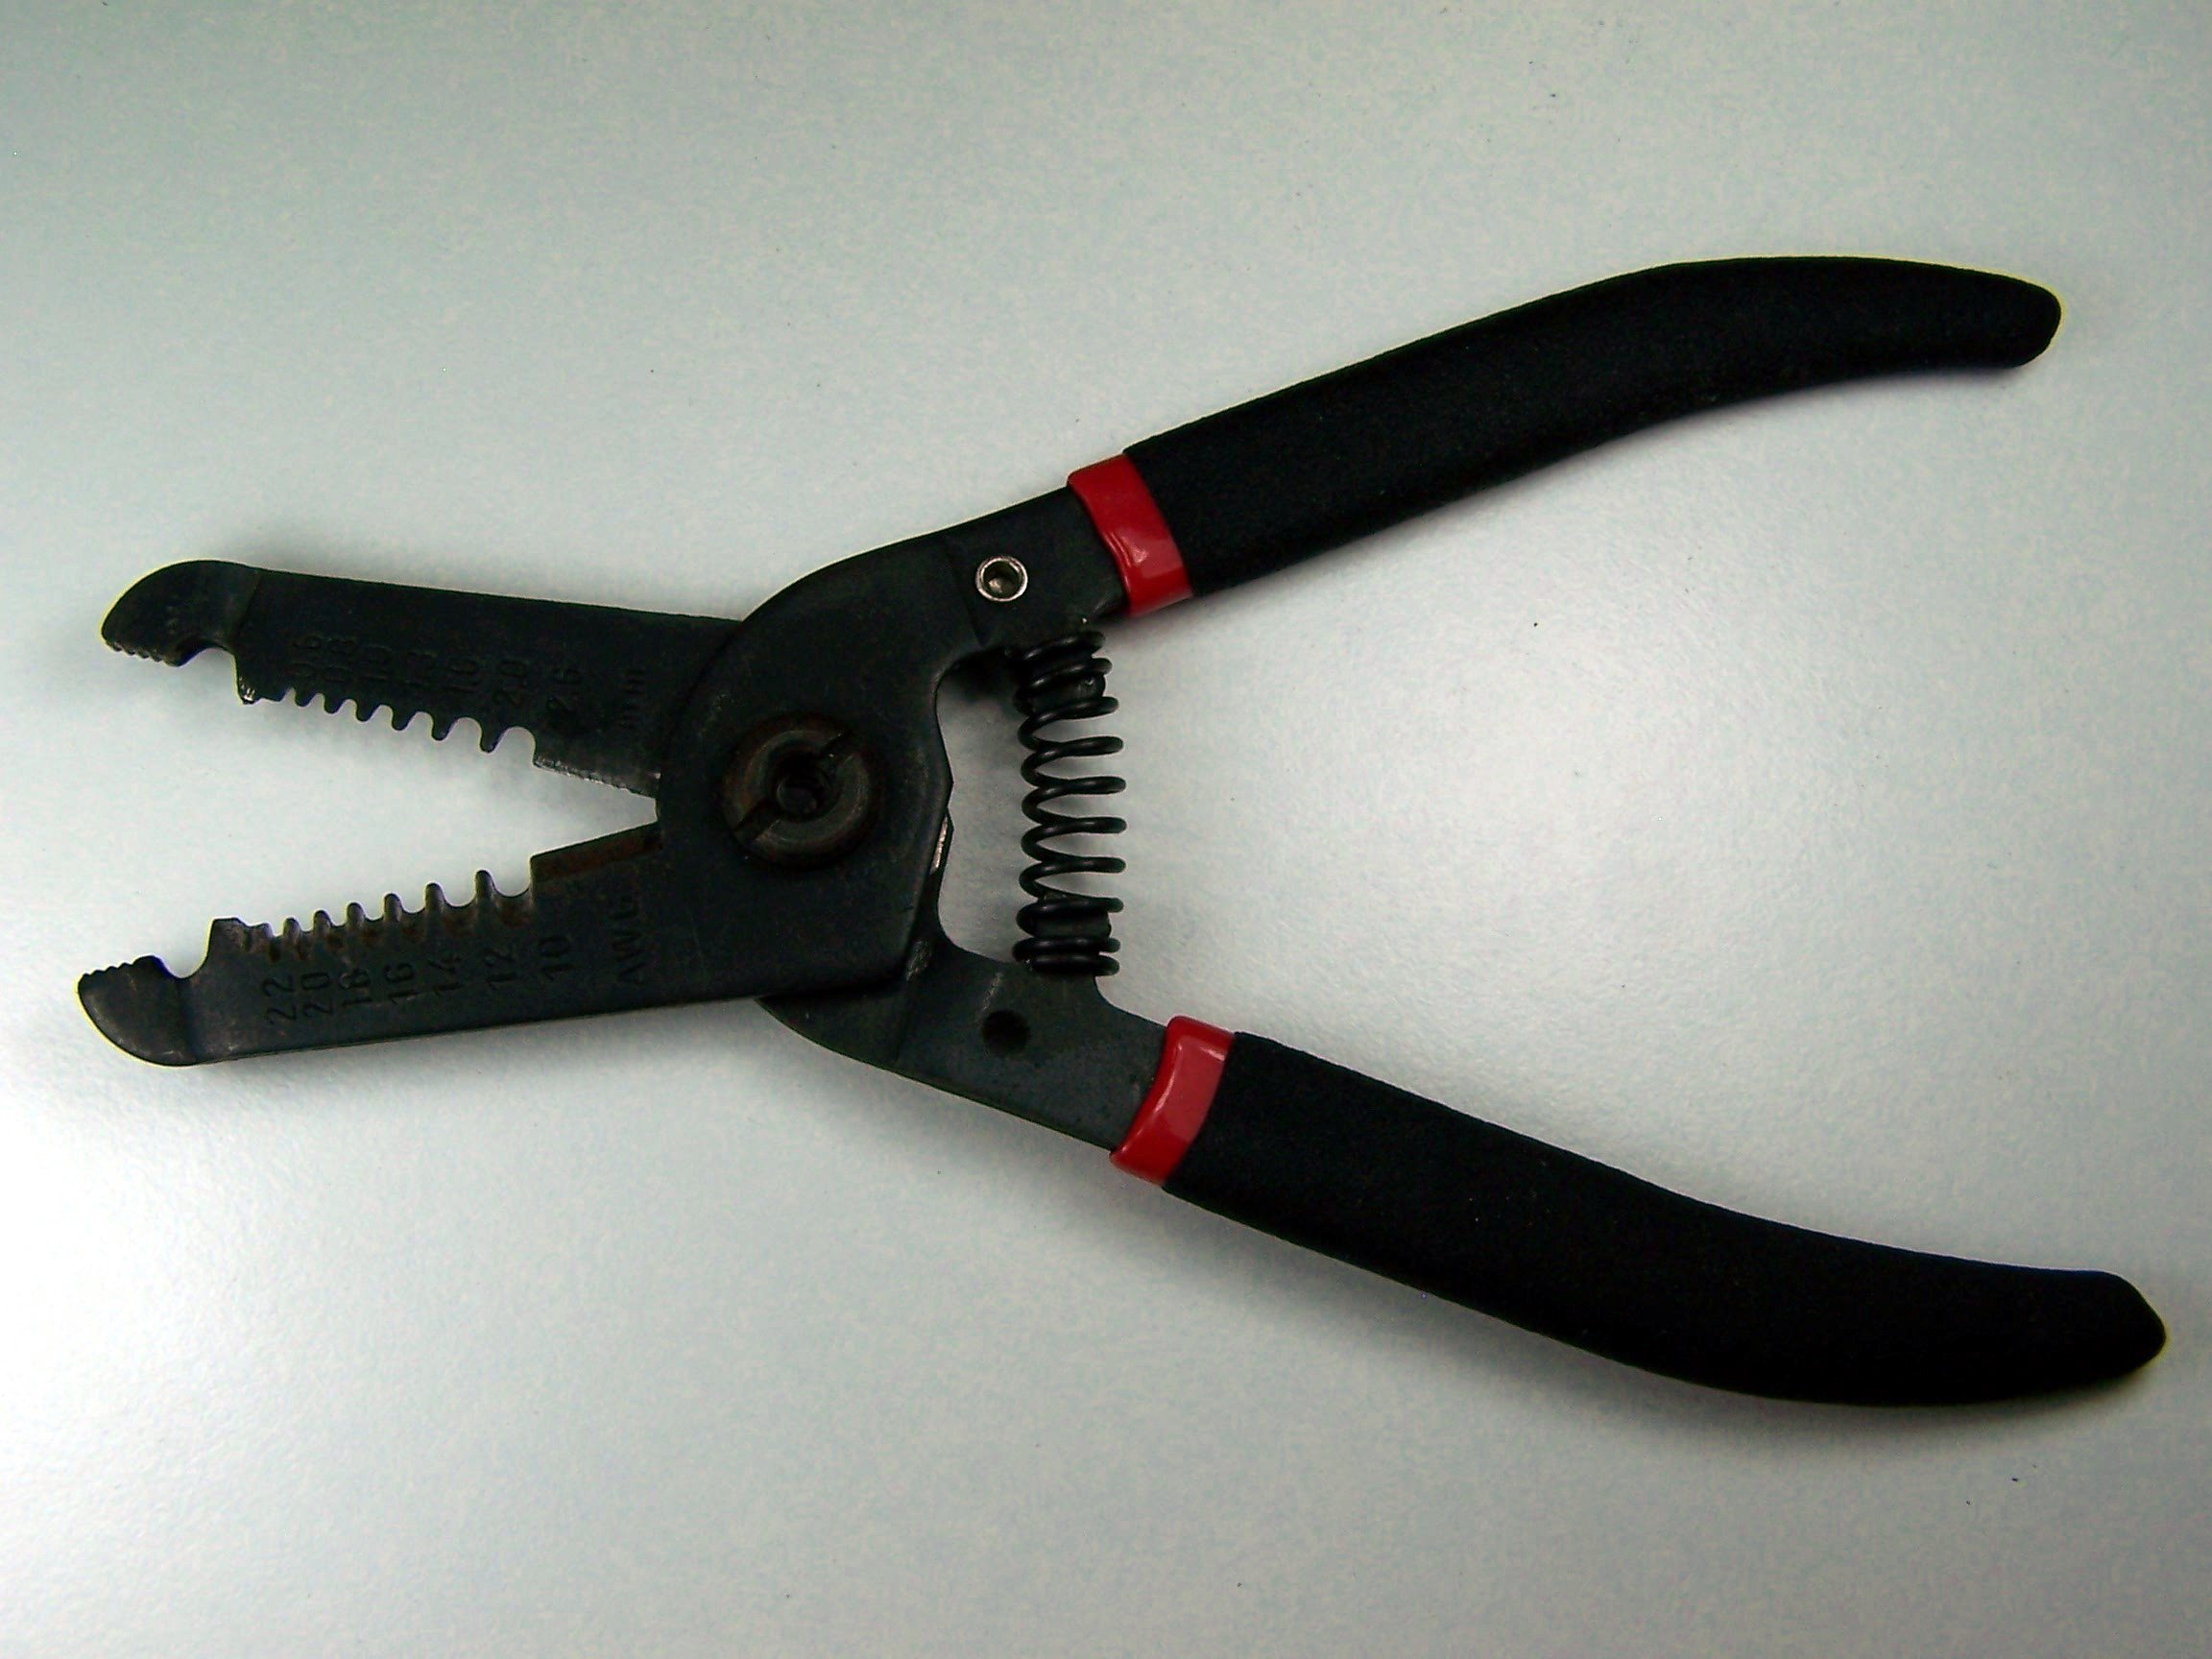
Step 0: Gather Tools
Step 1: Part Identification
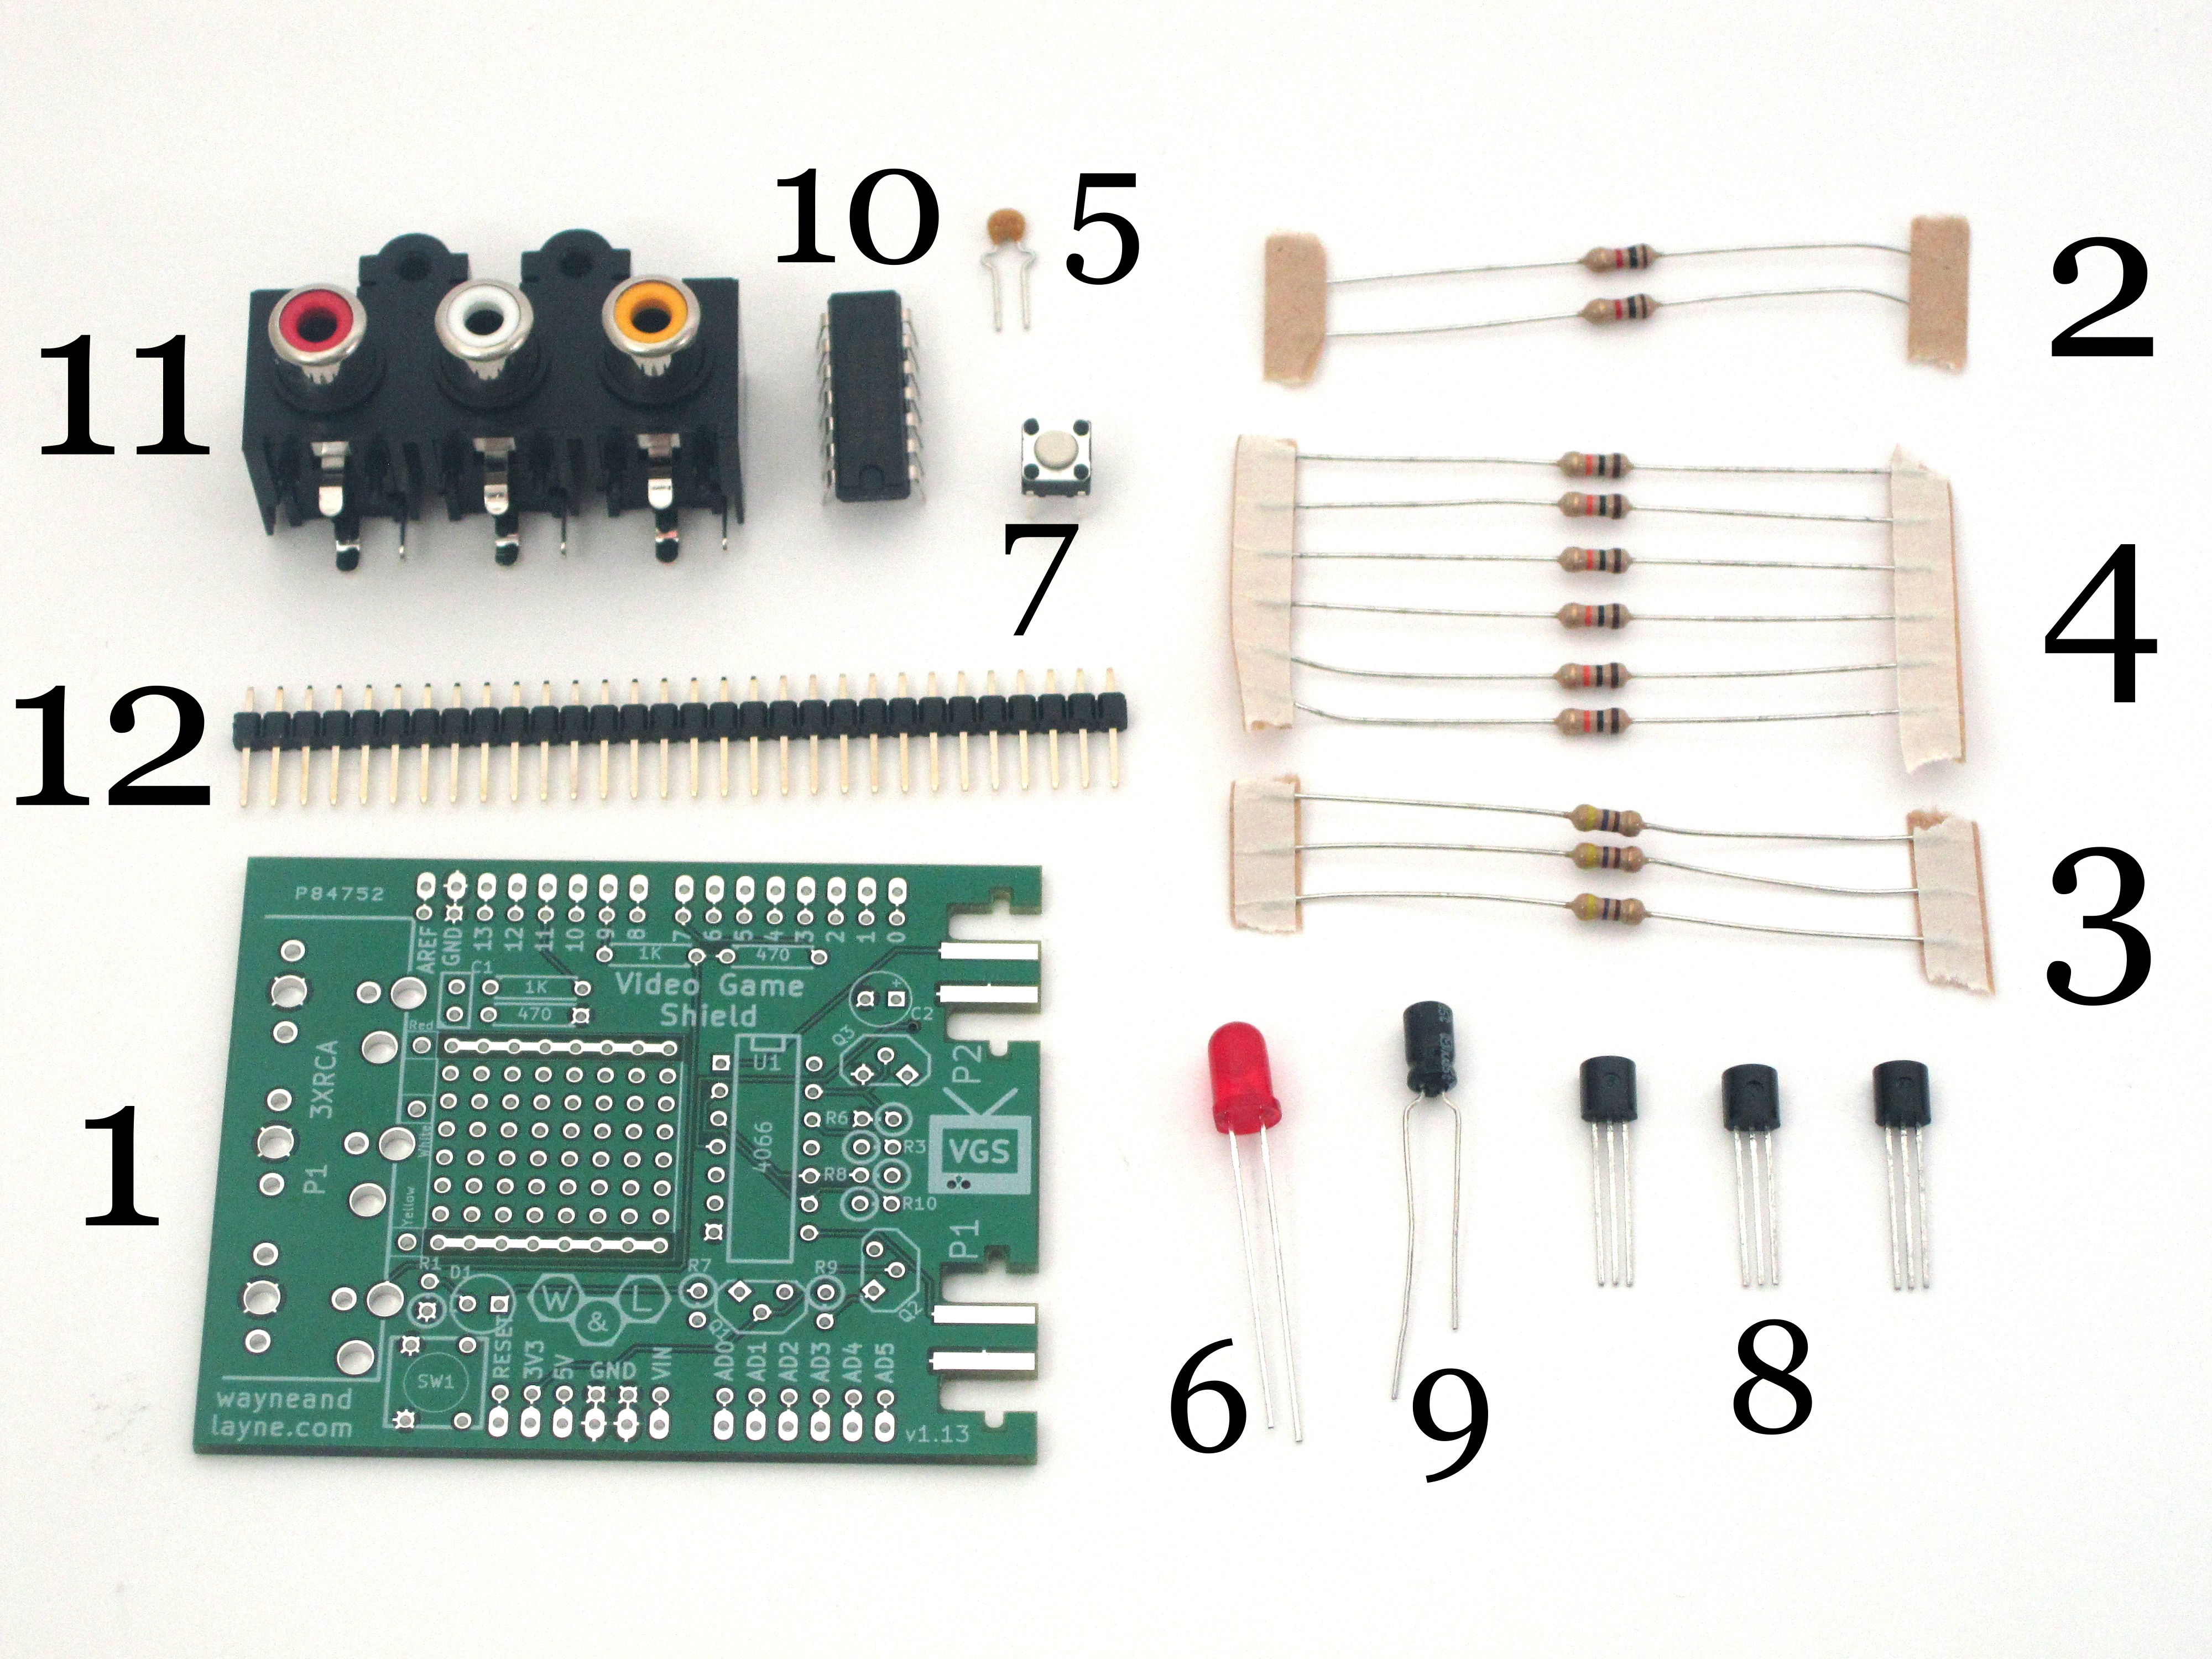
Open the bag of parts, and make sure you have all of the parts listed below. It might be easier to lay them out as shown in the picture. Click to enlarge.
Step 2: 1K Ohm Resistors – Marked on board
Step 3: 470 Ohm Resistors – Marked on board.
Step 4: 10K Ohm Resistors – Bend resistors and add to board.
Step 5: Capacitors – Yellow is unpolarized, other one is polarized.
Step 6: LEDs – Longer lead is positive and goes to the right.
Step 7: Reset button – Straighten leads if necessary.
Step 8: Transistors – Align flat edge with flat edge on board.
Step 9: Chip – Align indentation on chip with board outline.
Step 10: RCA Jacks
Step 11: Header pins – Break away the headers in the right-sized sections.
Step 12: – Give the completed board a final look over, checking for loose solder connections or shorted pads. Congratulations! You’re now the proud owner of a new Video Game Shield. Connect it to your television and give it a try!
