


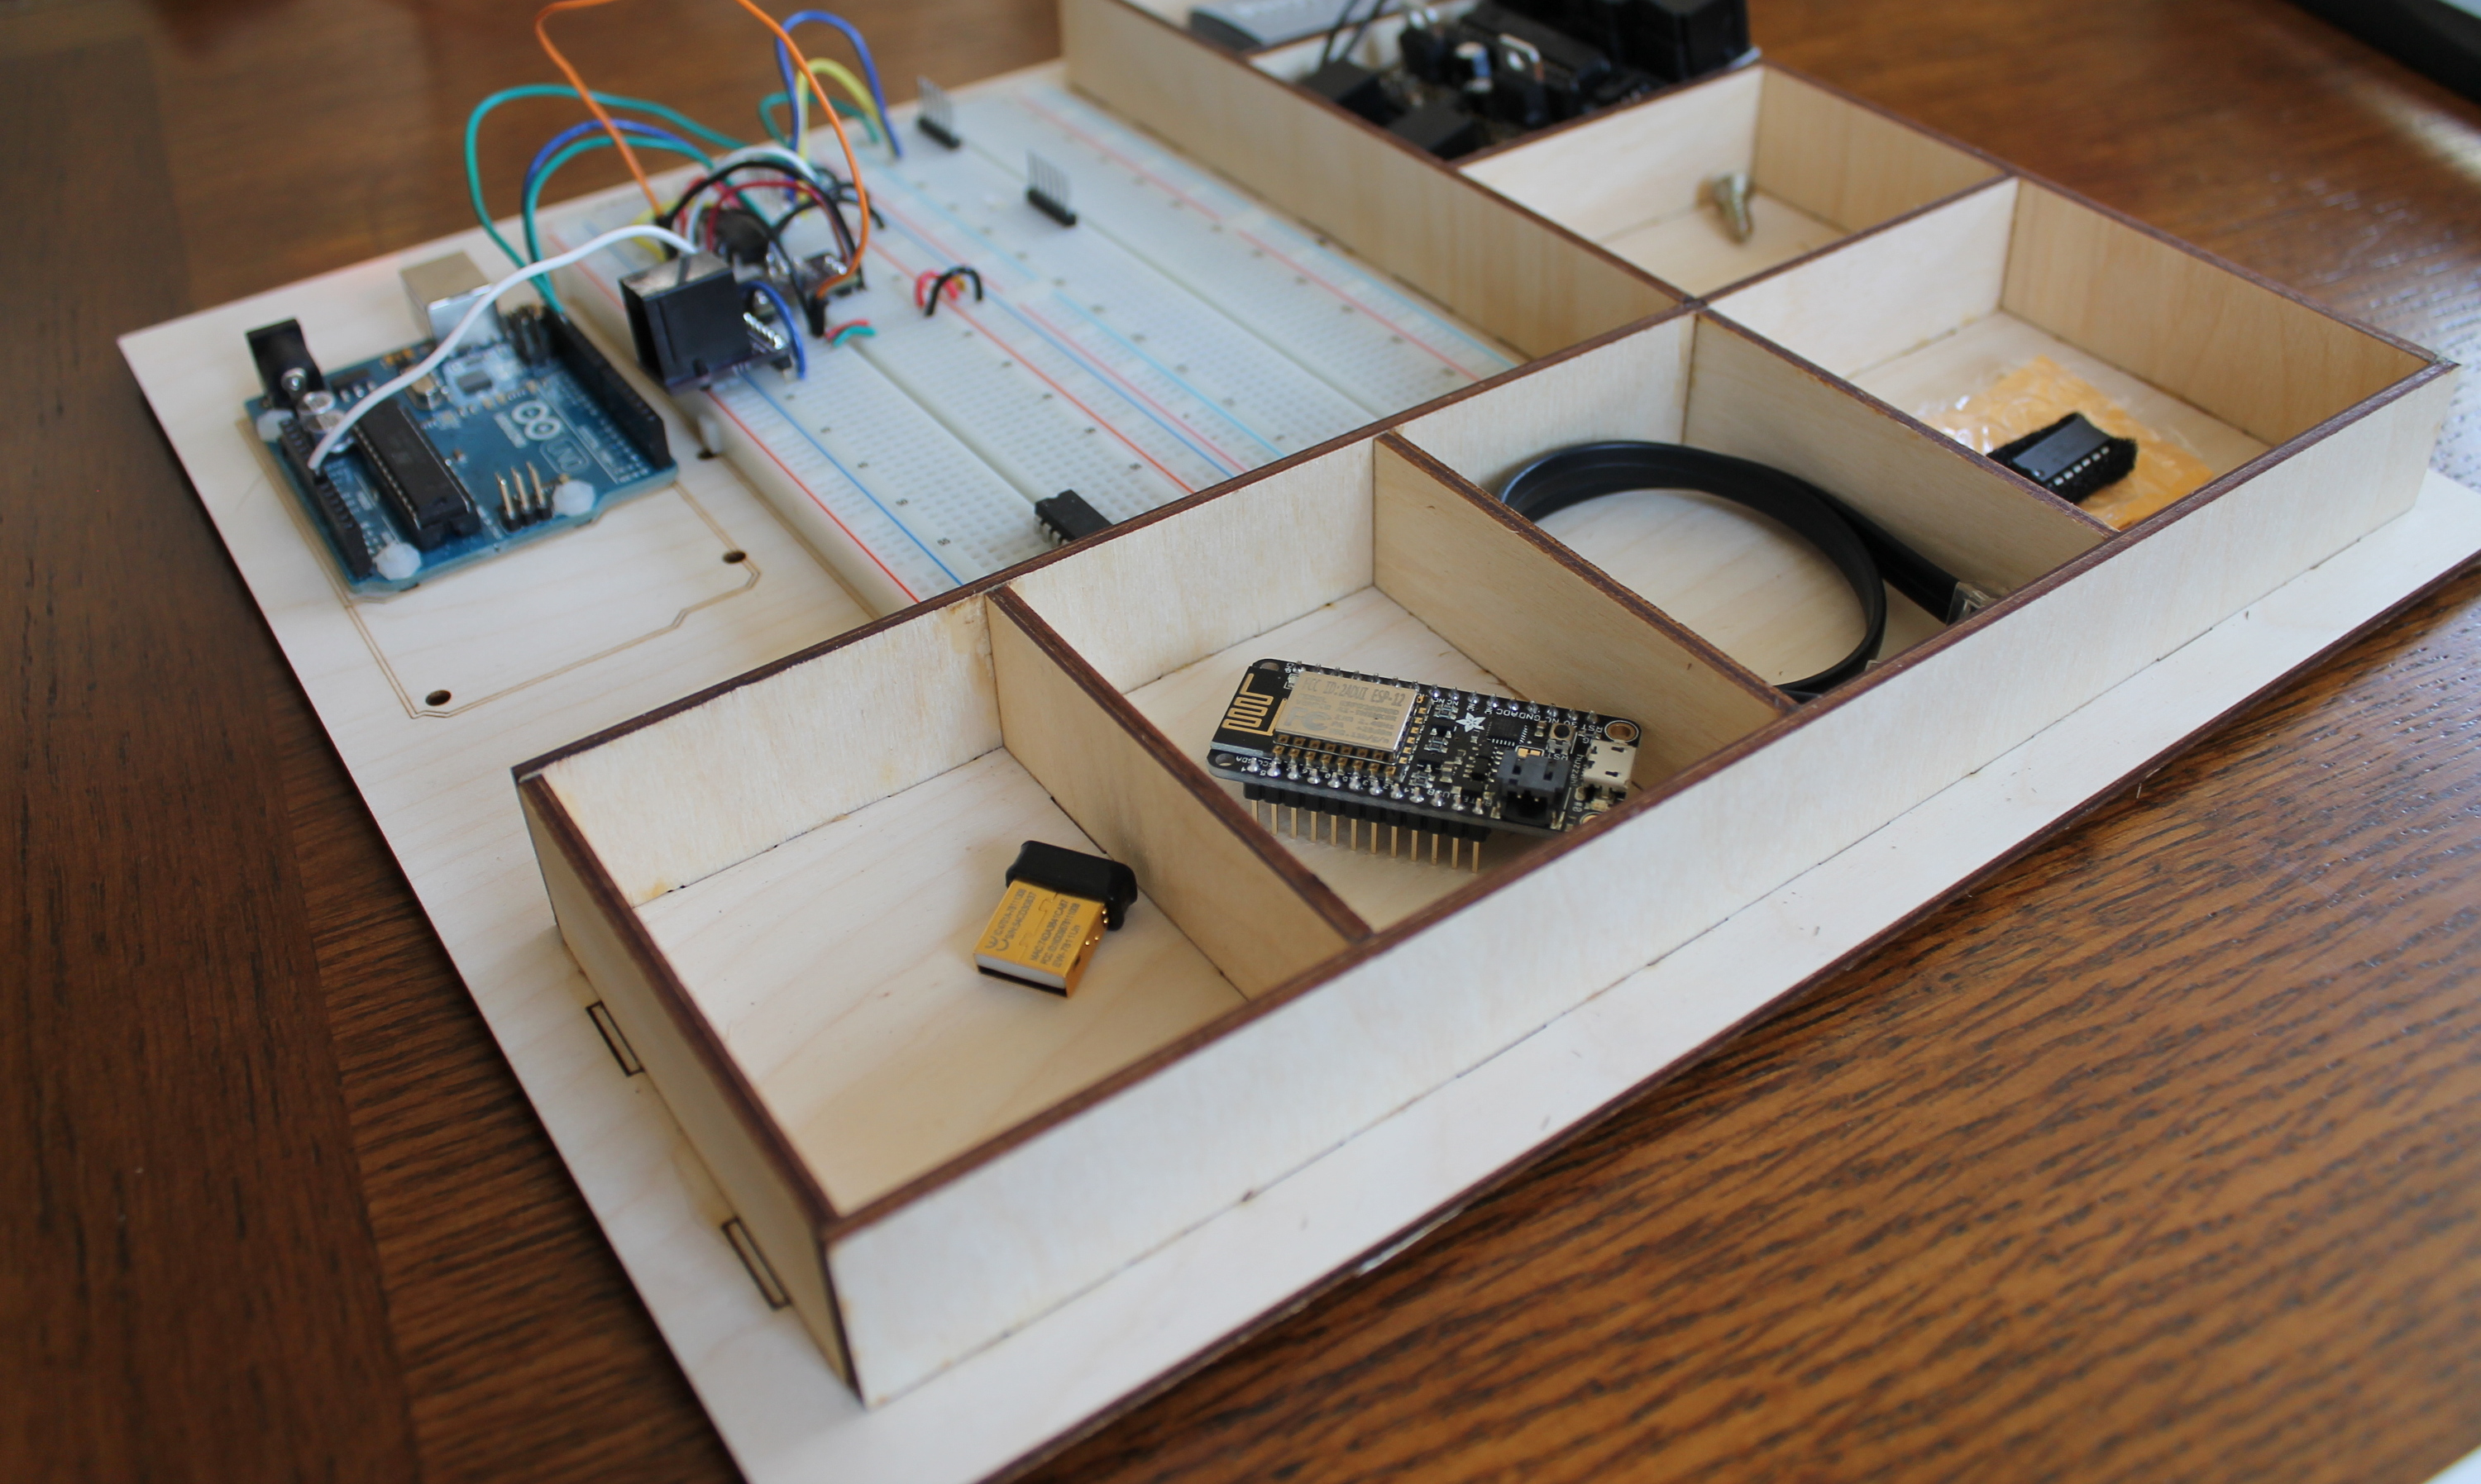
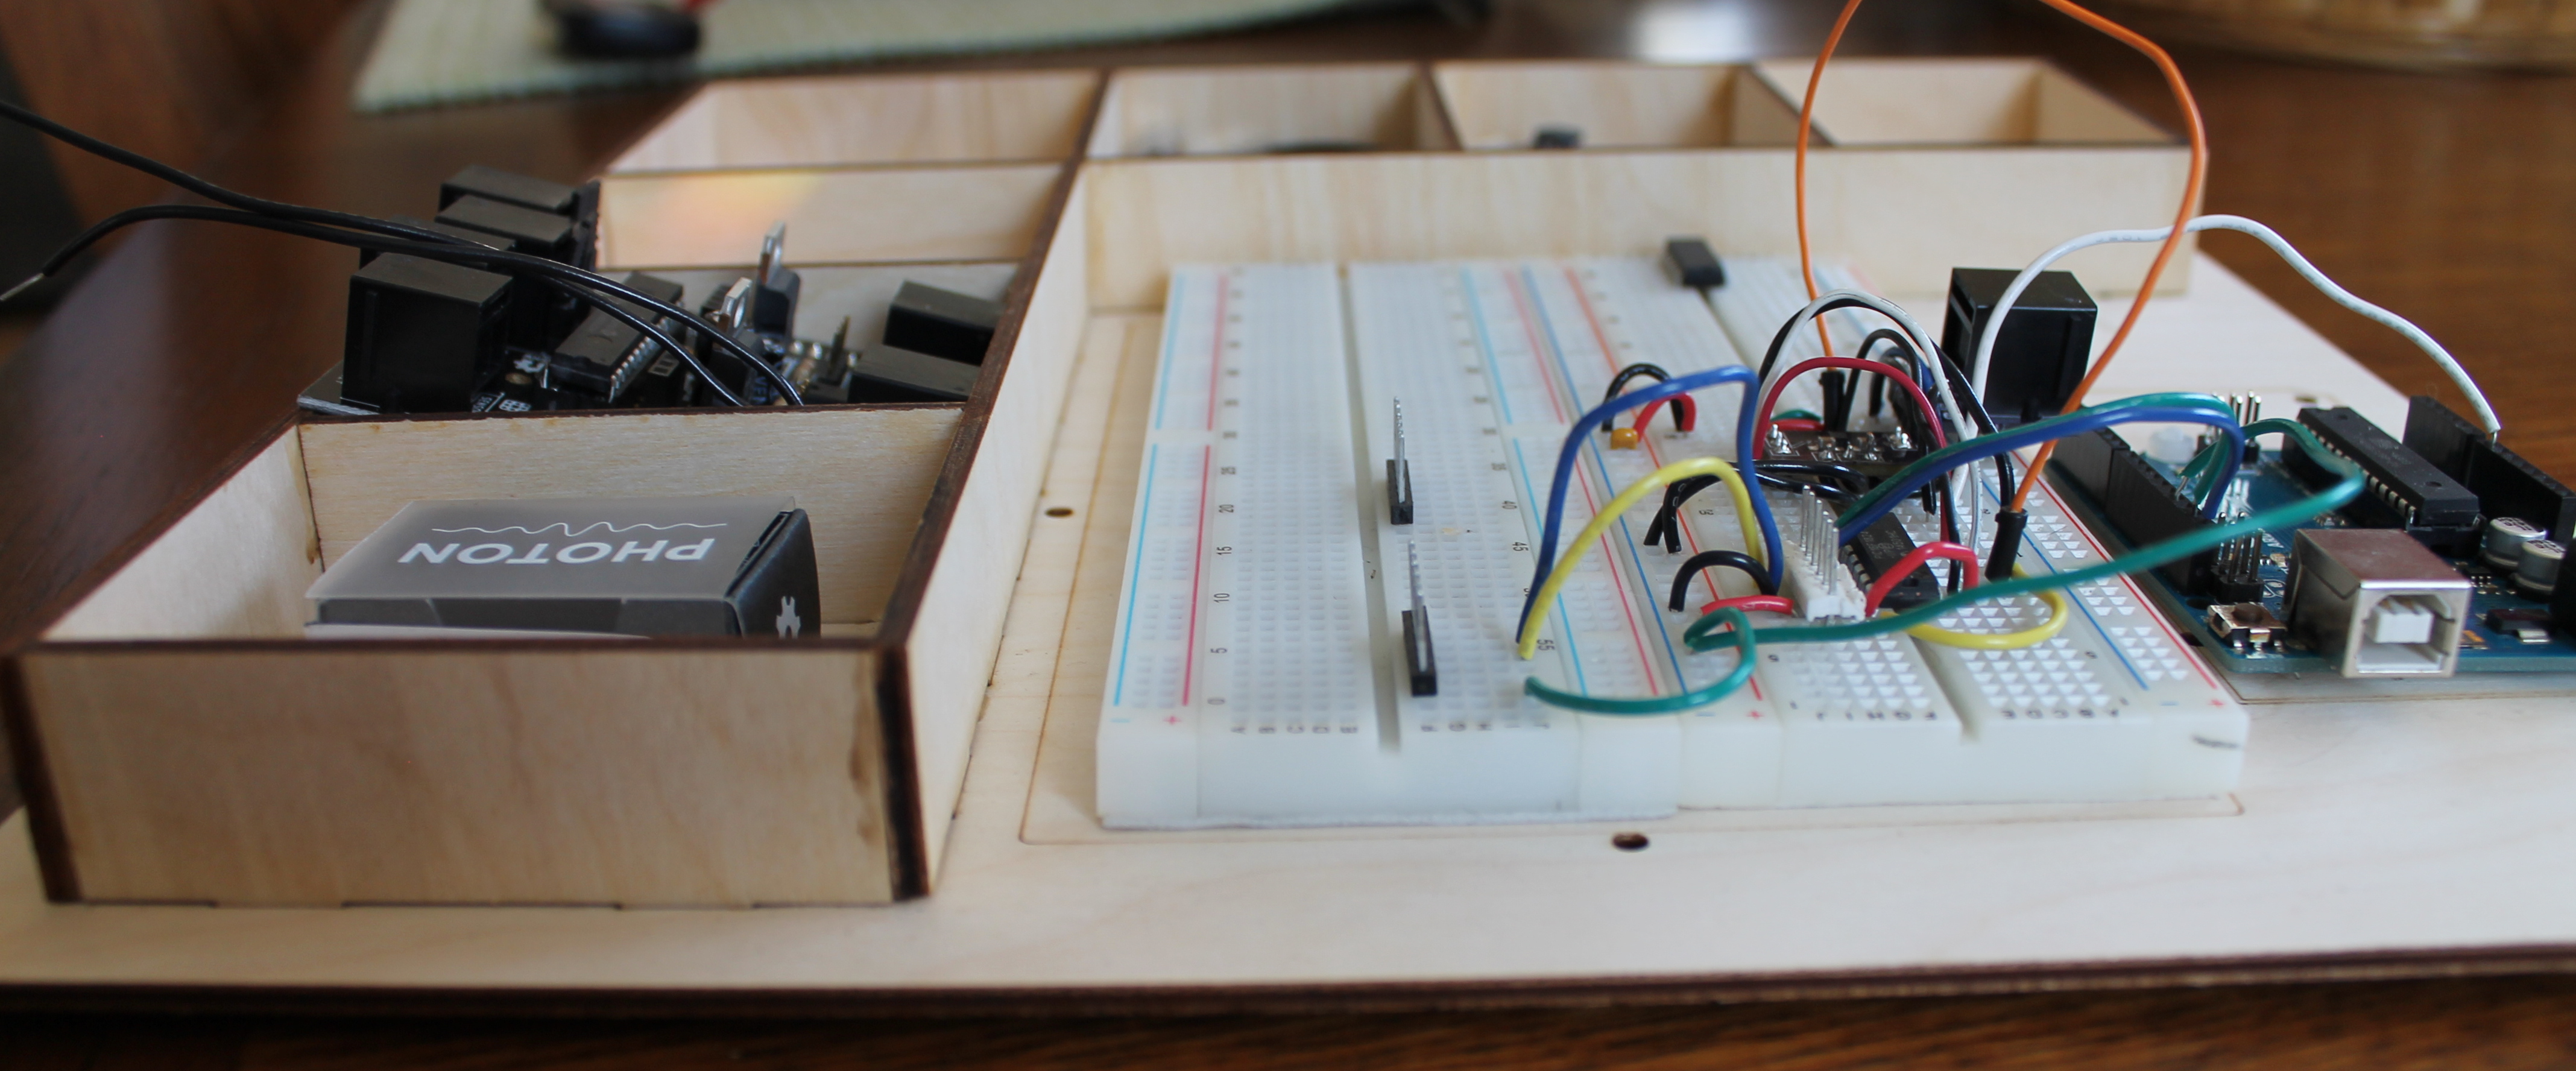
Laser Cut Project Plate
When I build electronics prototypes, it’s sometimes difficult to keep all the parts together without falling apart, especially if you need to move everything from one location to another. Between the breadboards, Arduino boards, programmers, FTDI cables, spare wires, and spare parts, I wanted to create a way to keep them all connected together without falling apart or losing anything.
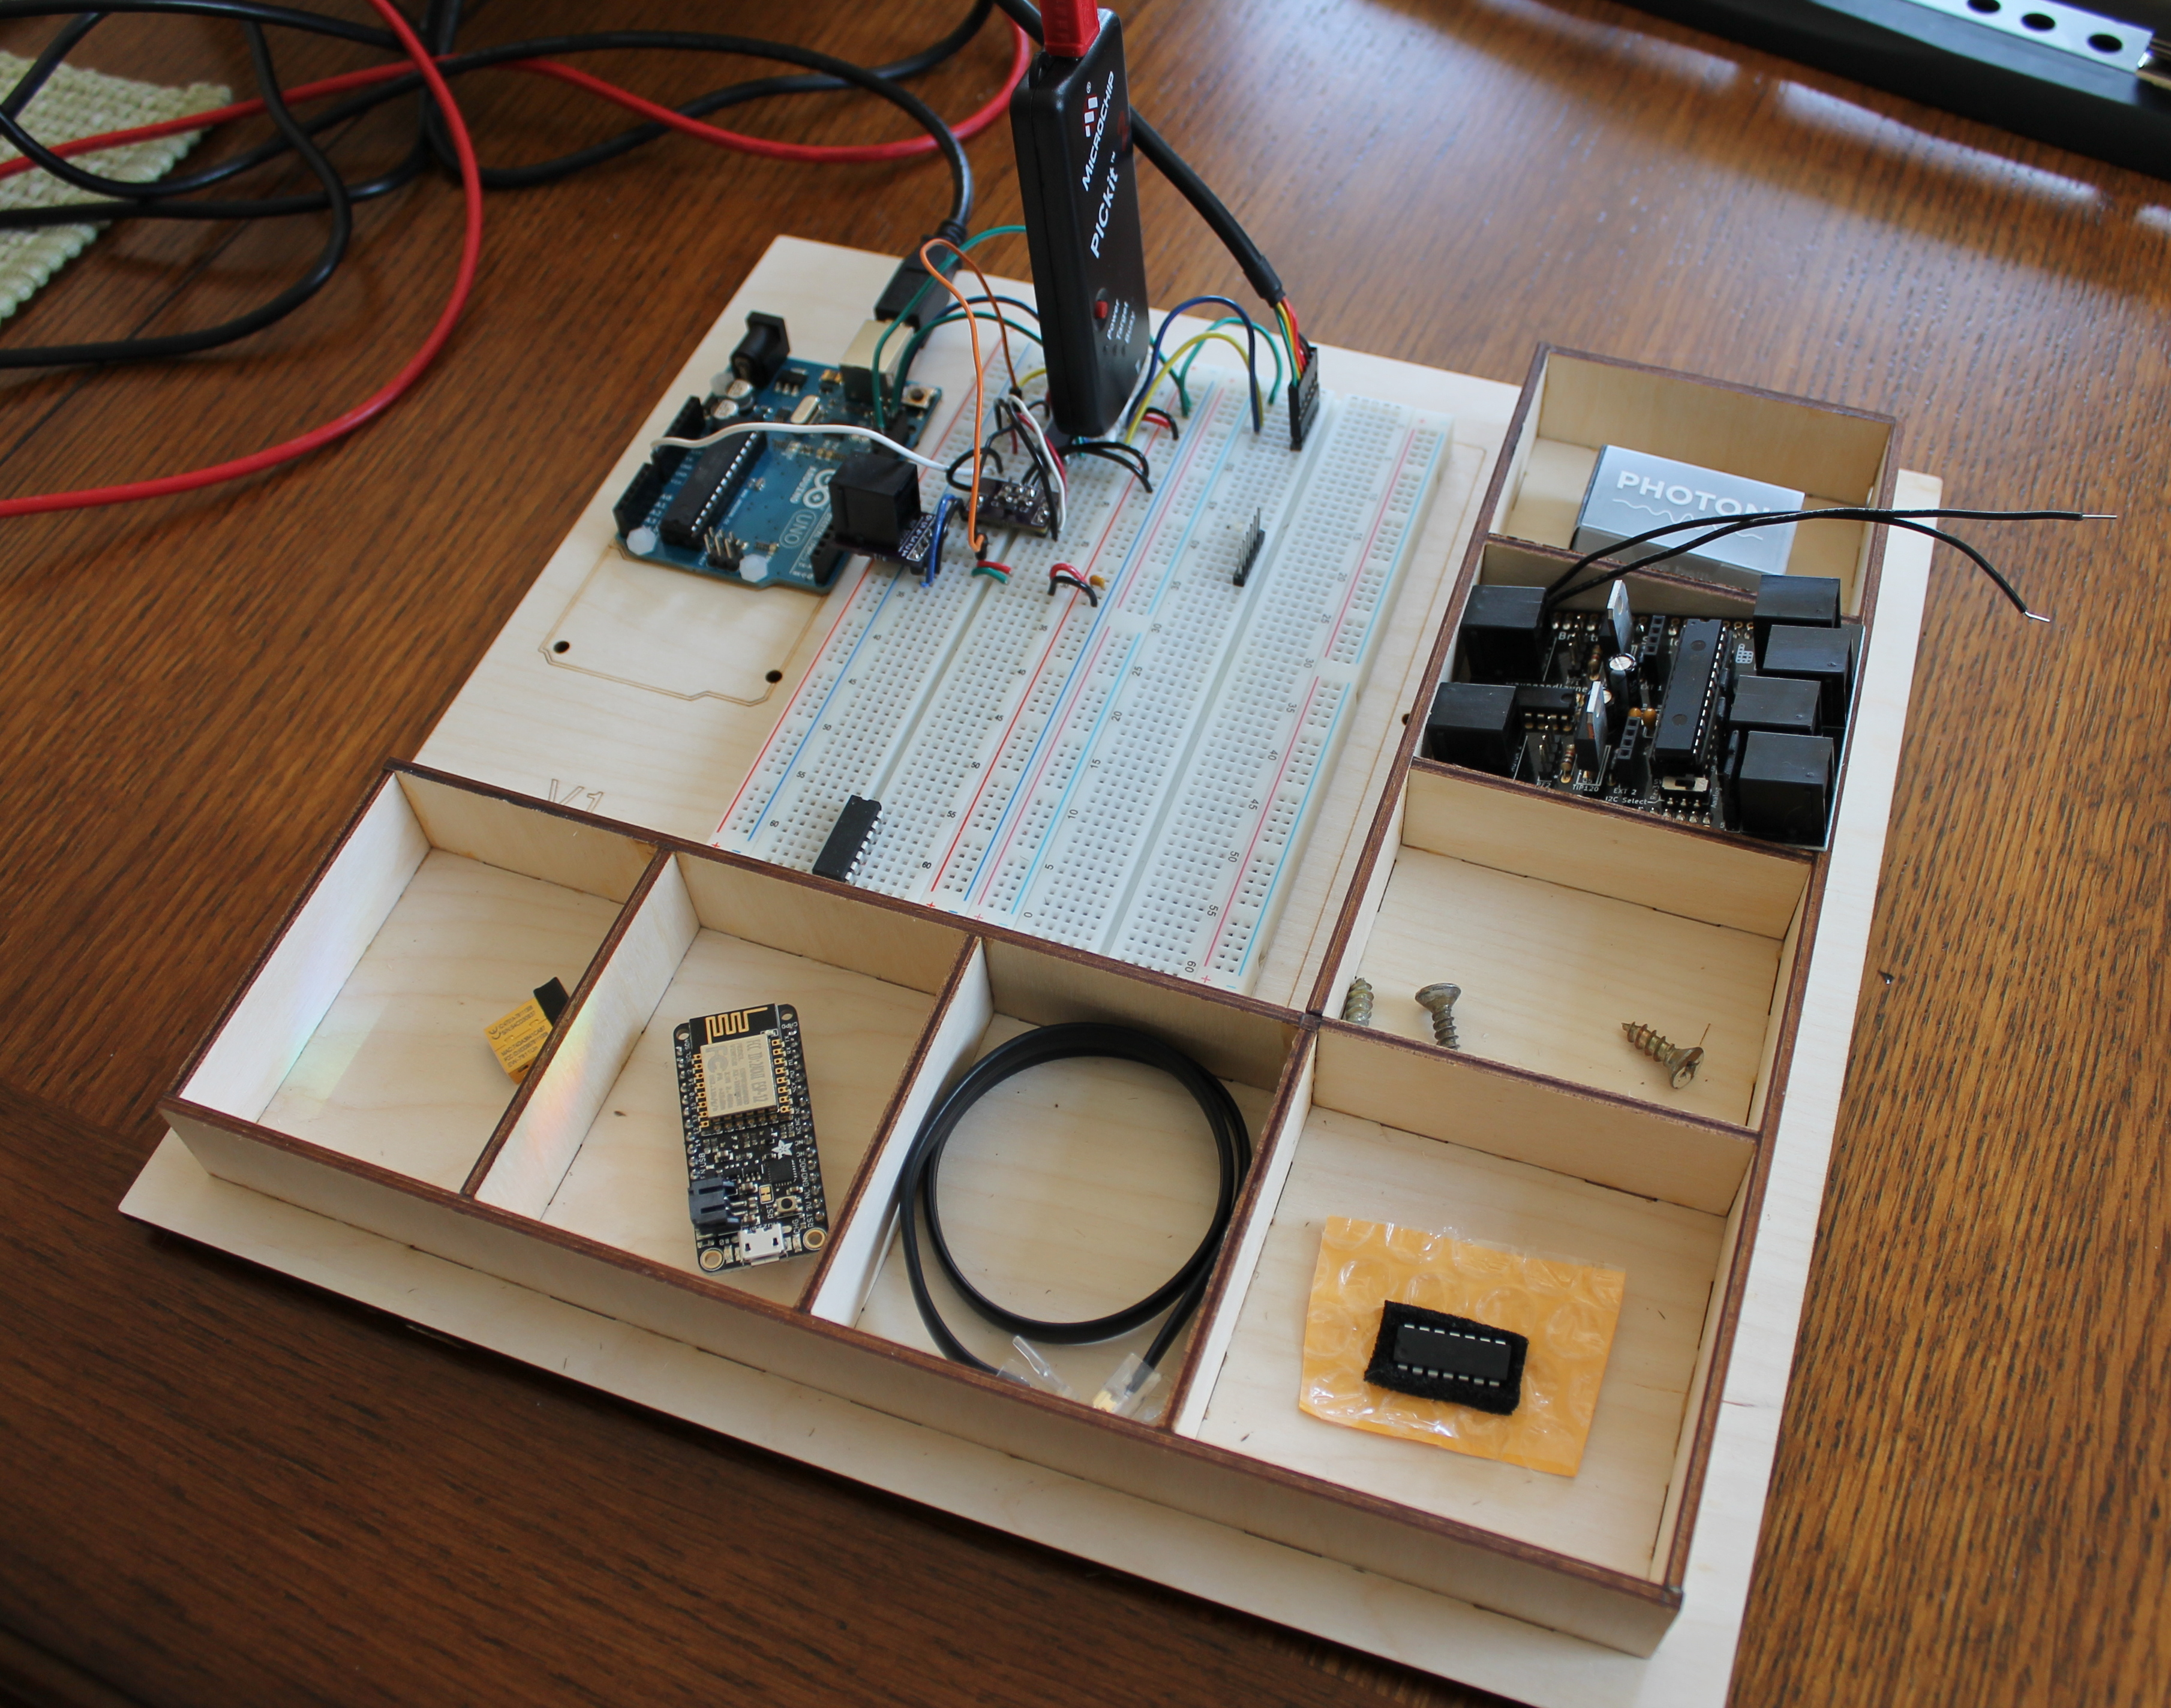
To this end, I designed a laser-cut Project Plate. It has holes for mounting an Arduino or Arduino Mega, a place for sticking a double-breadboard, and a series of customizable short boxes for holding parts.

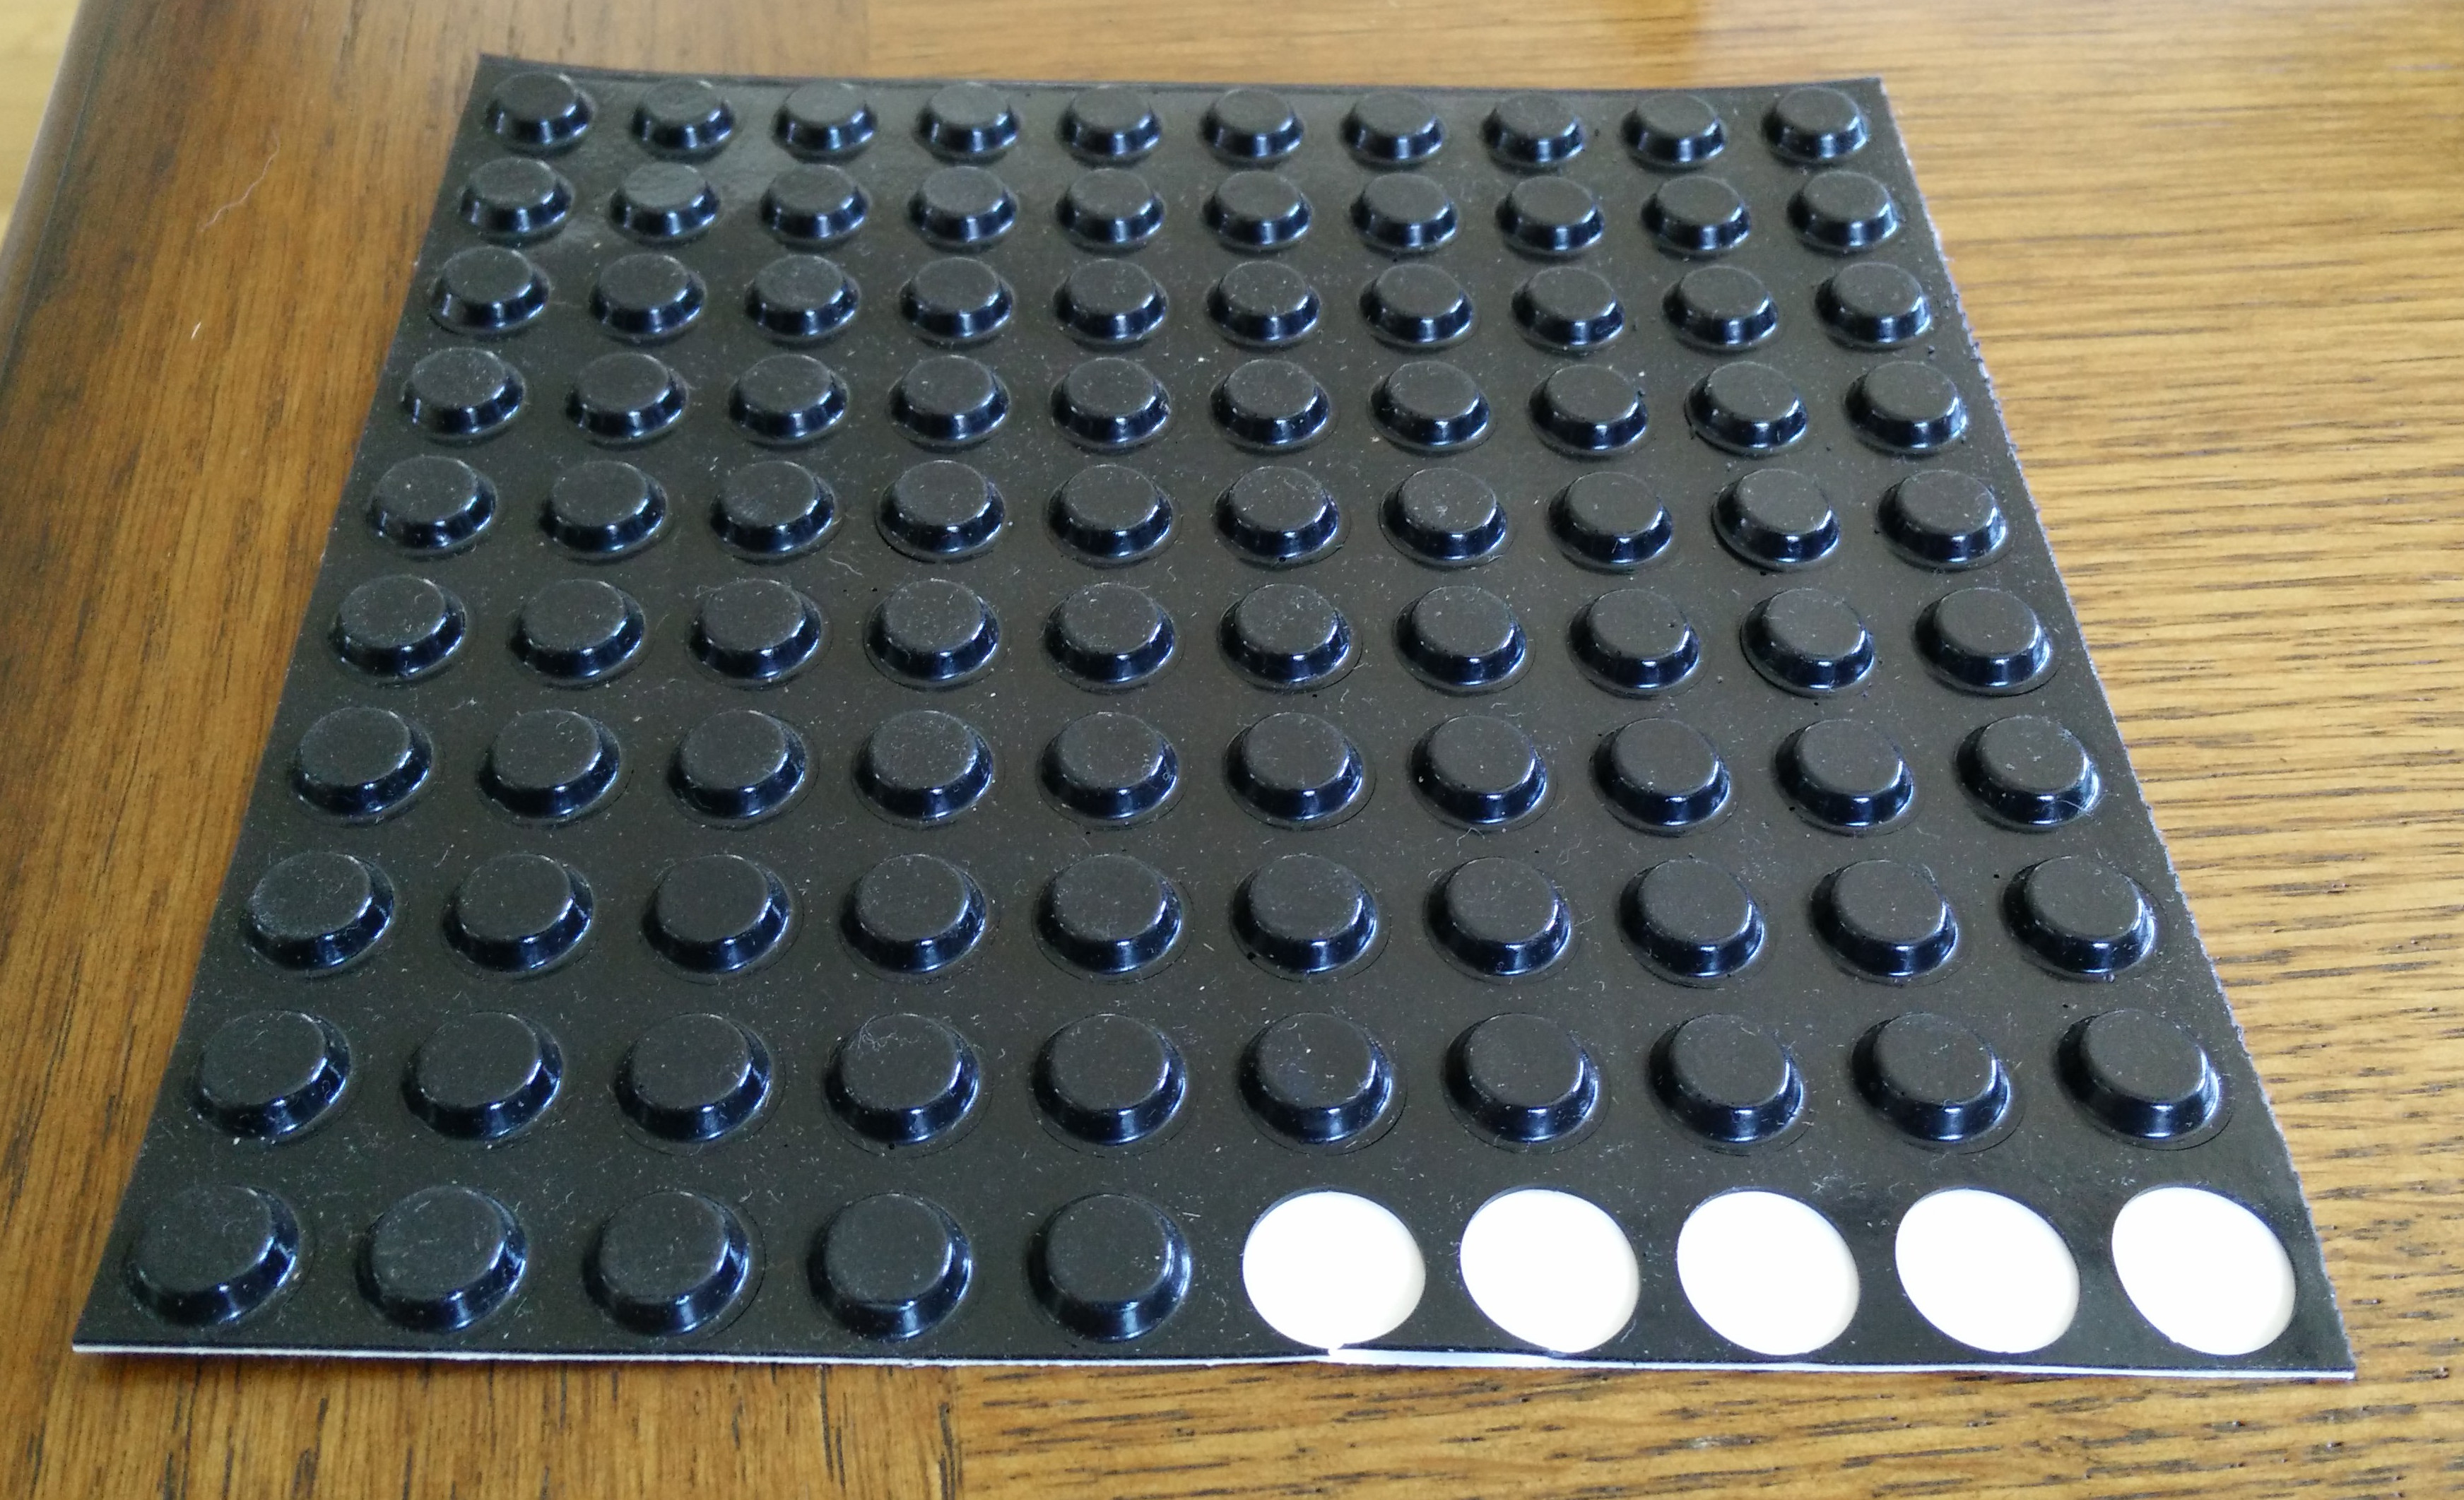
It took less than 15 minutes to cut on the laser cutter, and assembly took about an hour, plus time for the glue to dry. You don’t have to glue down all the box separators if you want to have larger boxes for longer wires or tools. With the arduino screws extending below the bottom of the plate, I added some adhesive rubber feet to the bottom to elevate it off the work surface.
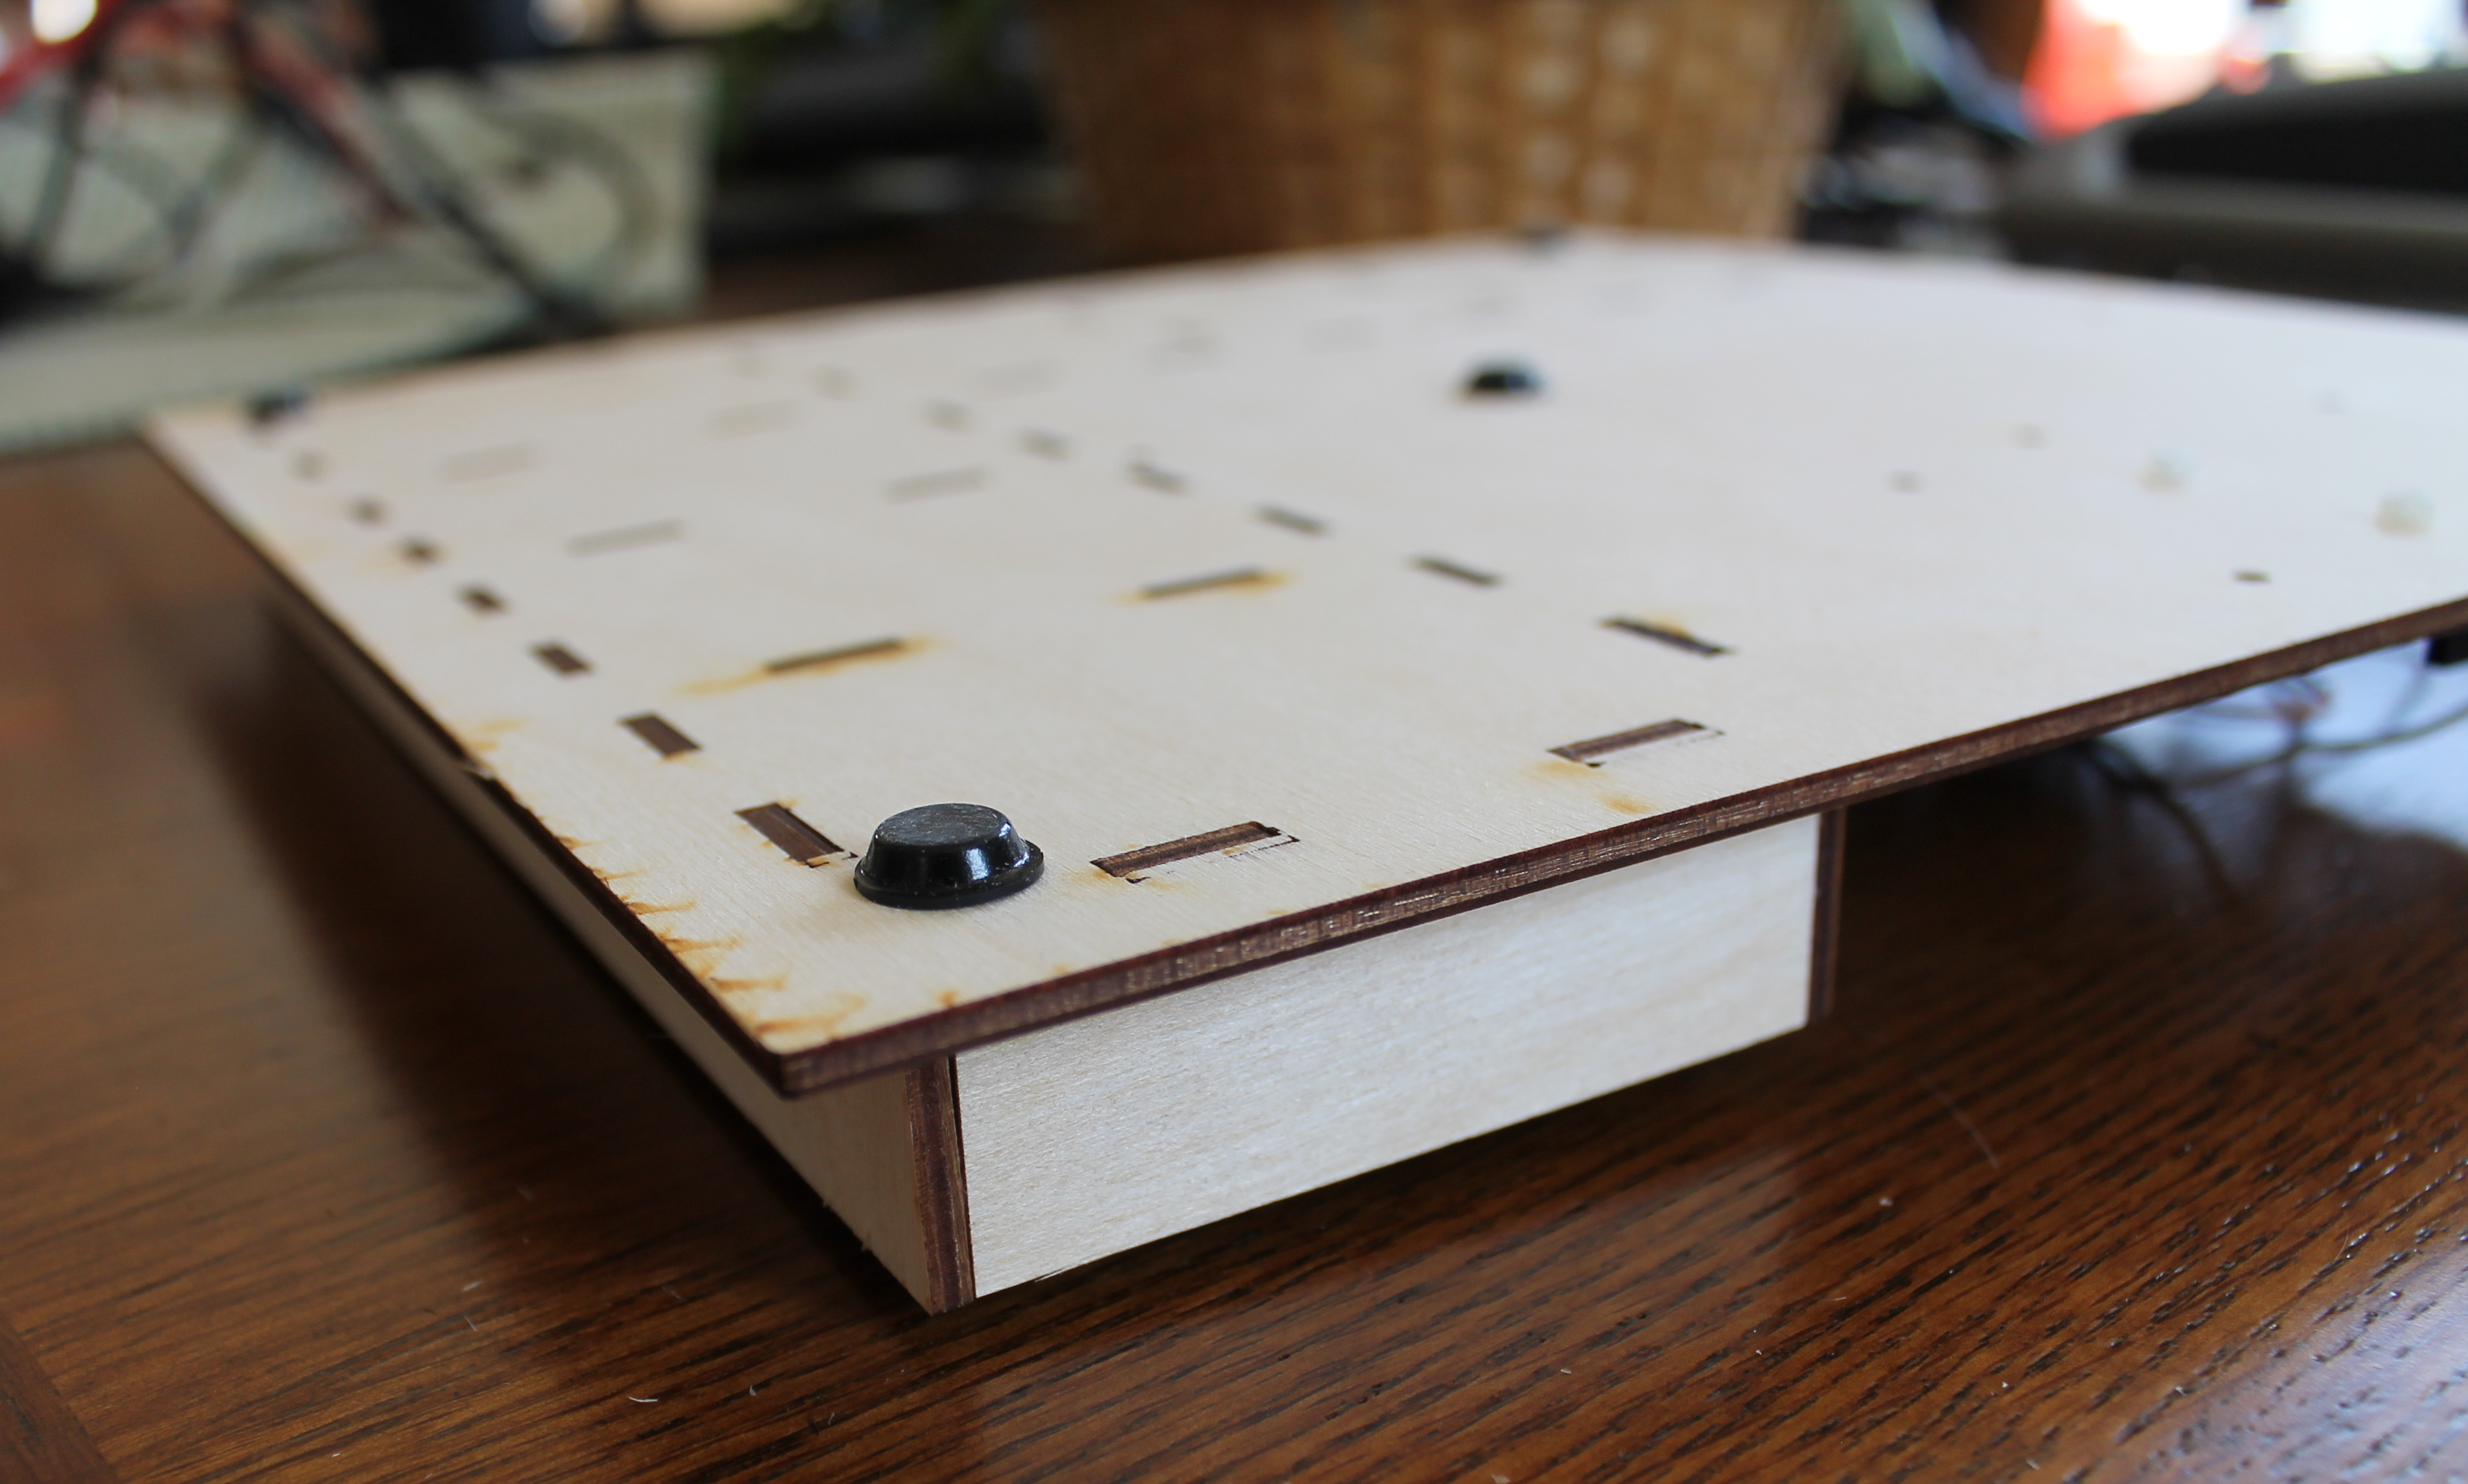
You can buy rubber feet like this on Amazon for dirt cheap.
If you want to cut your own, I have the SVG design file stored in the LaserCutProjectPlate repo at GitHub. I used 3mm (1/8″) baltic birch plywood and an 80W laser cutter.

Ideas for future improvements:
- Add a spot for a small USB hub?
- Add holes for mounting banana plug binding posts?
- Add a place to glue-down pass-through header pins for easier connections to chip programmers or FTDI cables?
Here are some additional photos:

Let me buy this!
How you use the Pickit2 on Arduino board?
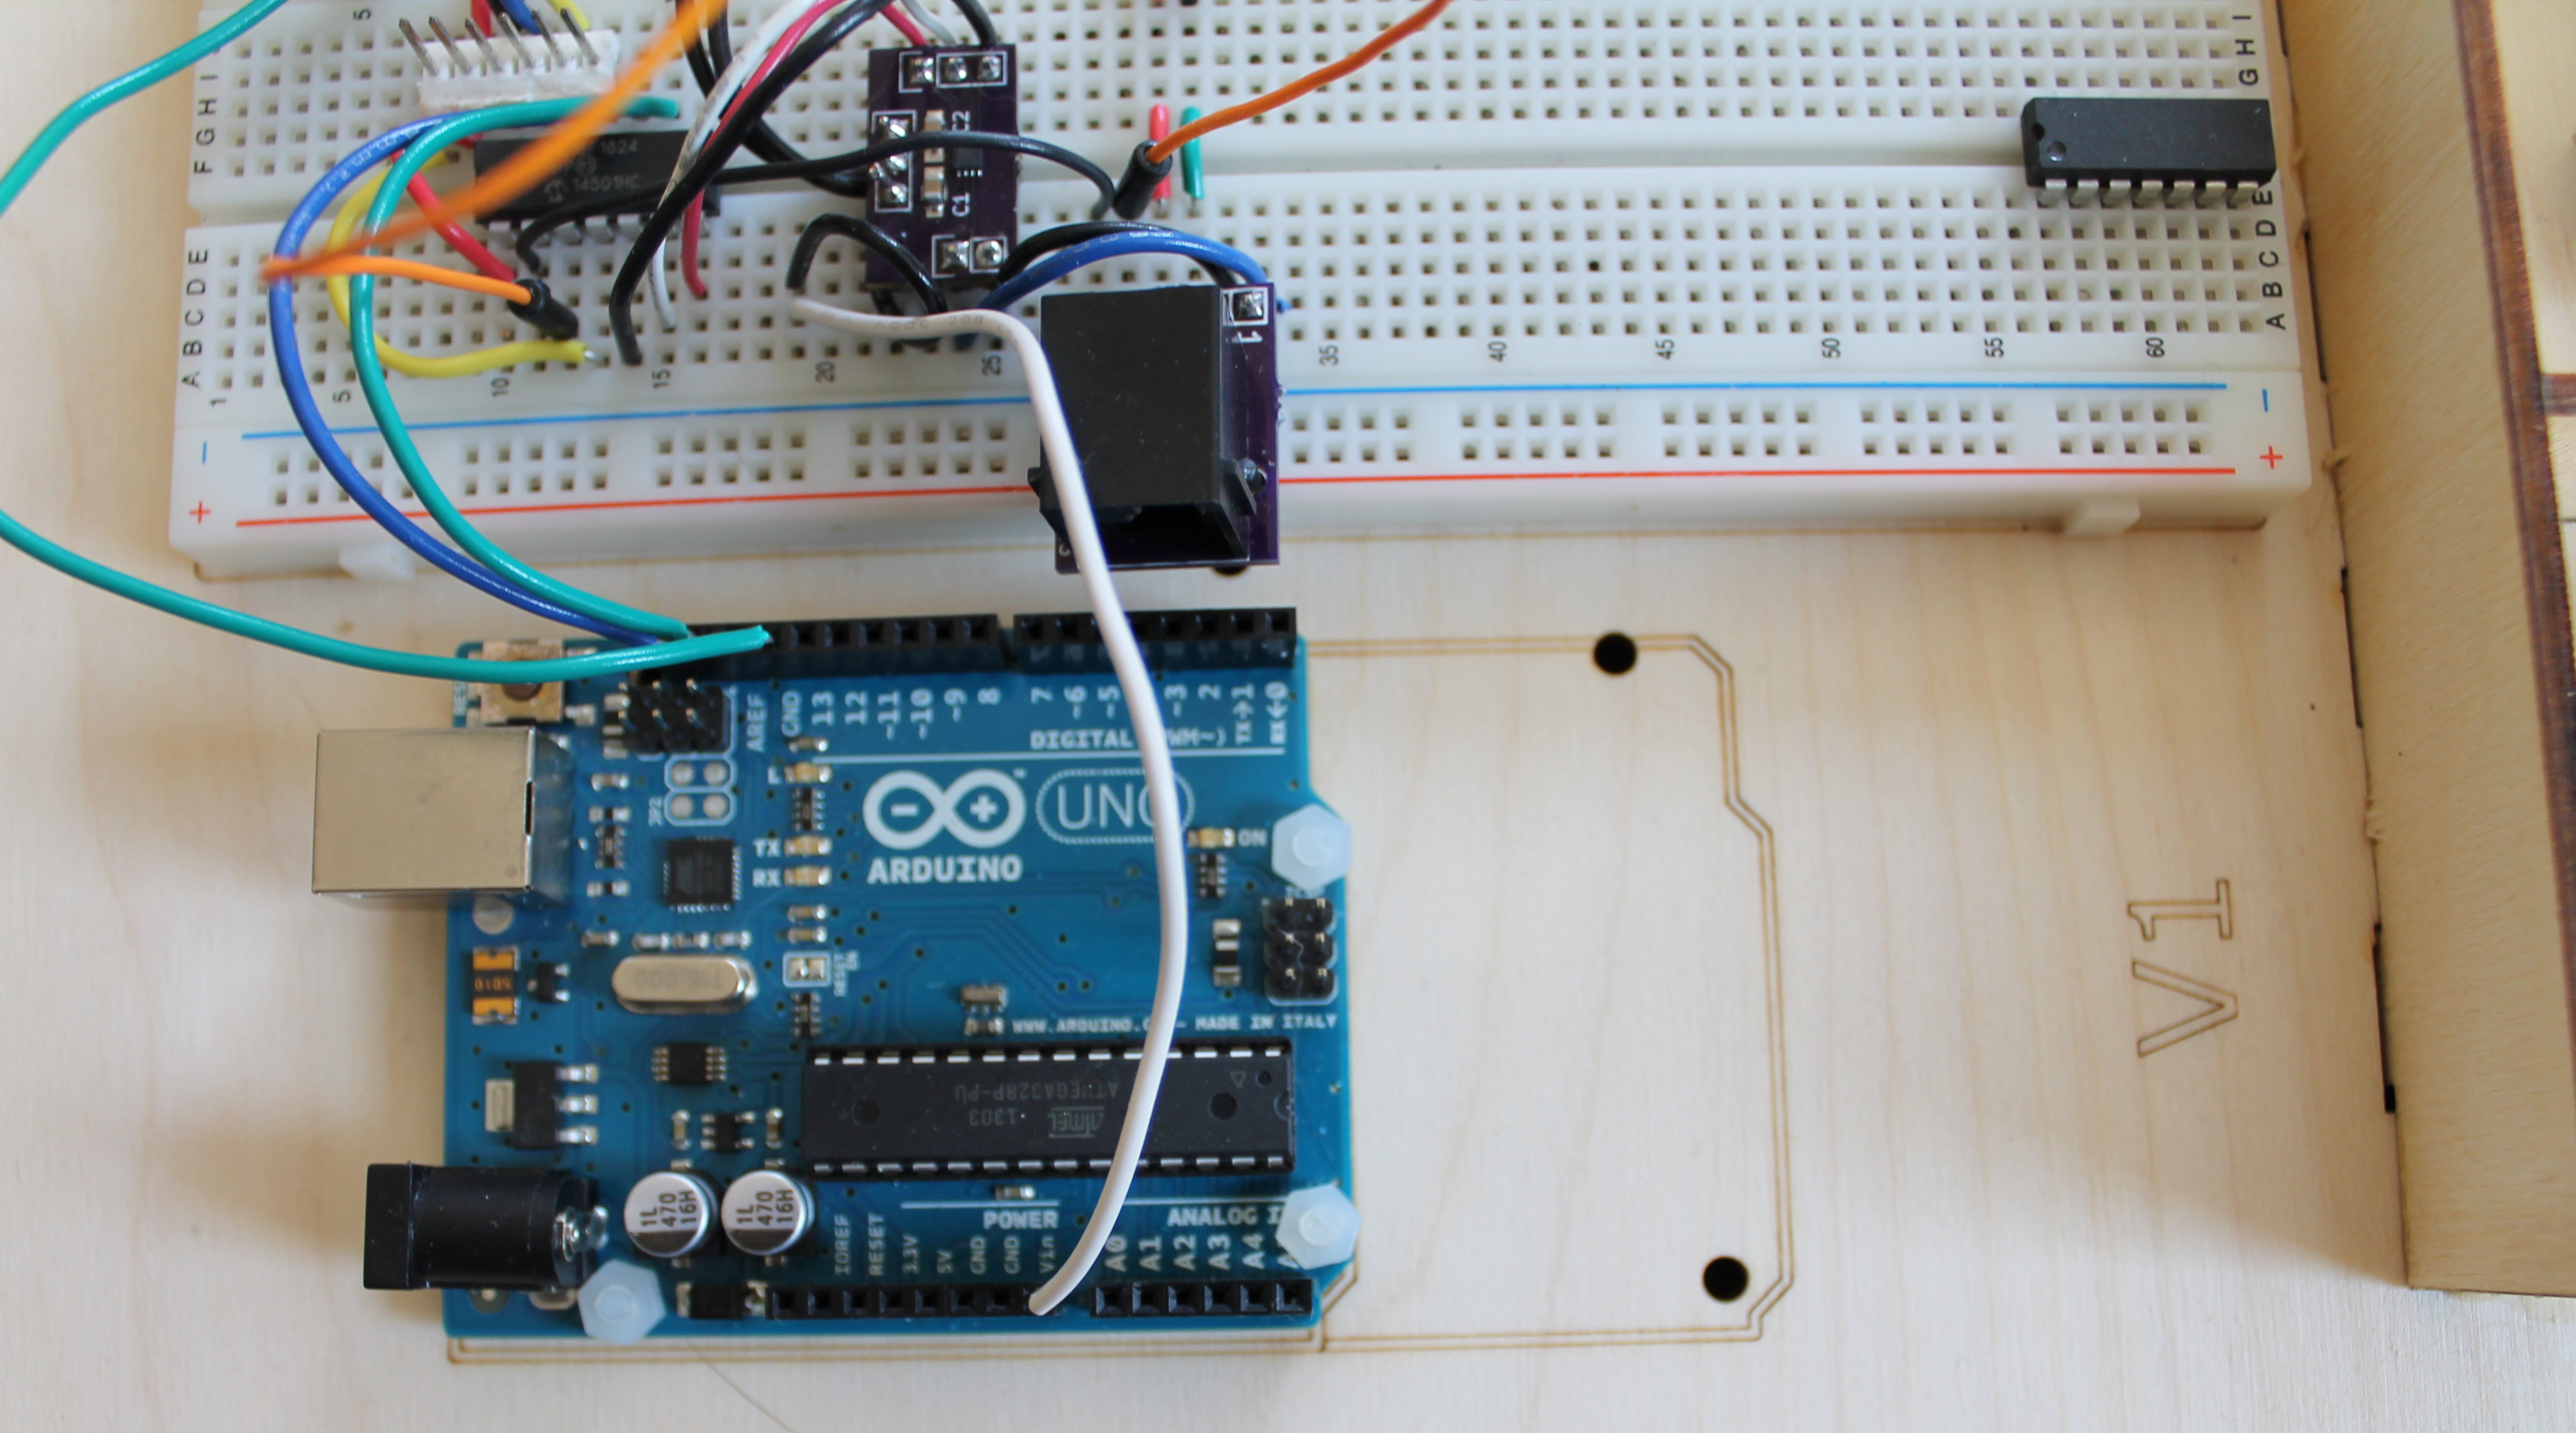
The project pictured was a PIC project (using PICKit2) where the PIC acts as an I2C slave device, so I am using the Arduino as an I2C master device to query the PIC.
Interesting idea, I’ll look into adding this to the W&L store!
Nice. You could improve the board by making it stackable – or put a lid on it – with some plywood in the Arduino corner. Might need some nudging of the Arduino for access to the ports.
Good call on making it stackable! My original intent was to make a little cabinet with slots on each side to hold these project plates by their edges, you know? Stackable might be easier though 🙂